02 Mar Bunny Wreath for Easter Beginner Craft from Dollar Tree
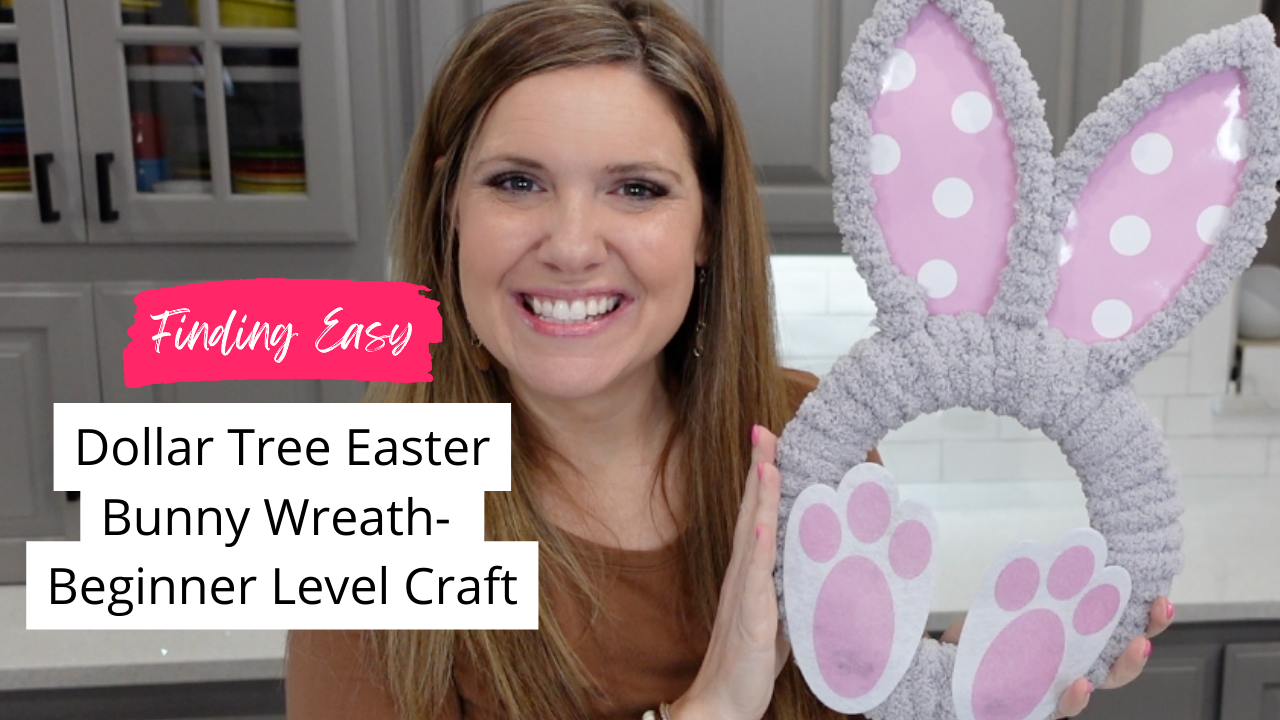
Bunny Wreath for Easter: A Beginner Craft from Dollar Tree
Welcome, craft enthusiasts, beginners, and everyone looking to add a personal touch to their Easter celebrations! Today, we’re diving into a delightful project that combines the joy of crafting with the festive spirit of Easter. Our mission? To create an adorable Bunny Wreath that will bring charm and cheer to your home. This beginner-friendly craft is not only easy to make, but also light on the pocket, thanks to affordable supplies readily available at your local Dollar Tree and Walmart. So, whether you’re a seasoned crafter looking for a quick and fun project, or a newbie eager to dip your toes into the world of DIY, this Bunny Wreath for Easter is just the craft for you. Let’s “hop” into it, shall we?
Gathering the Supplies
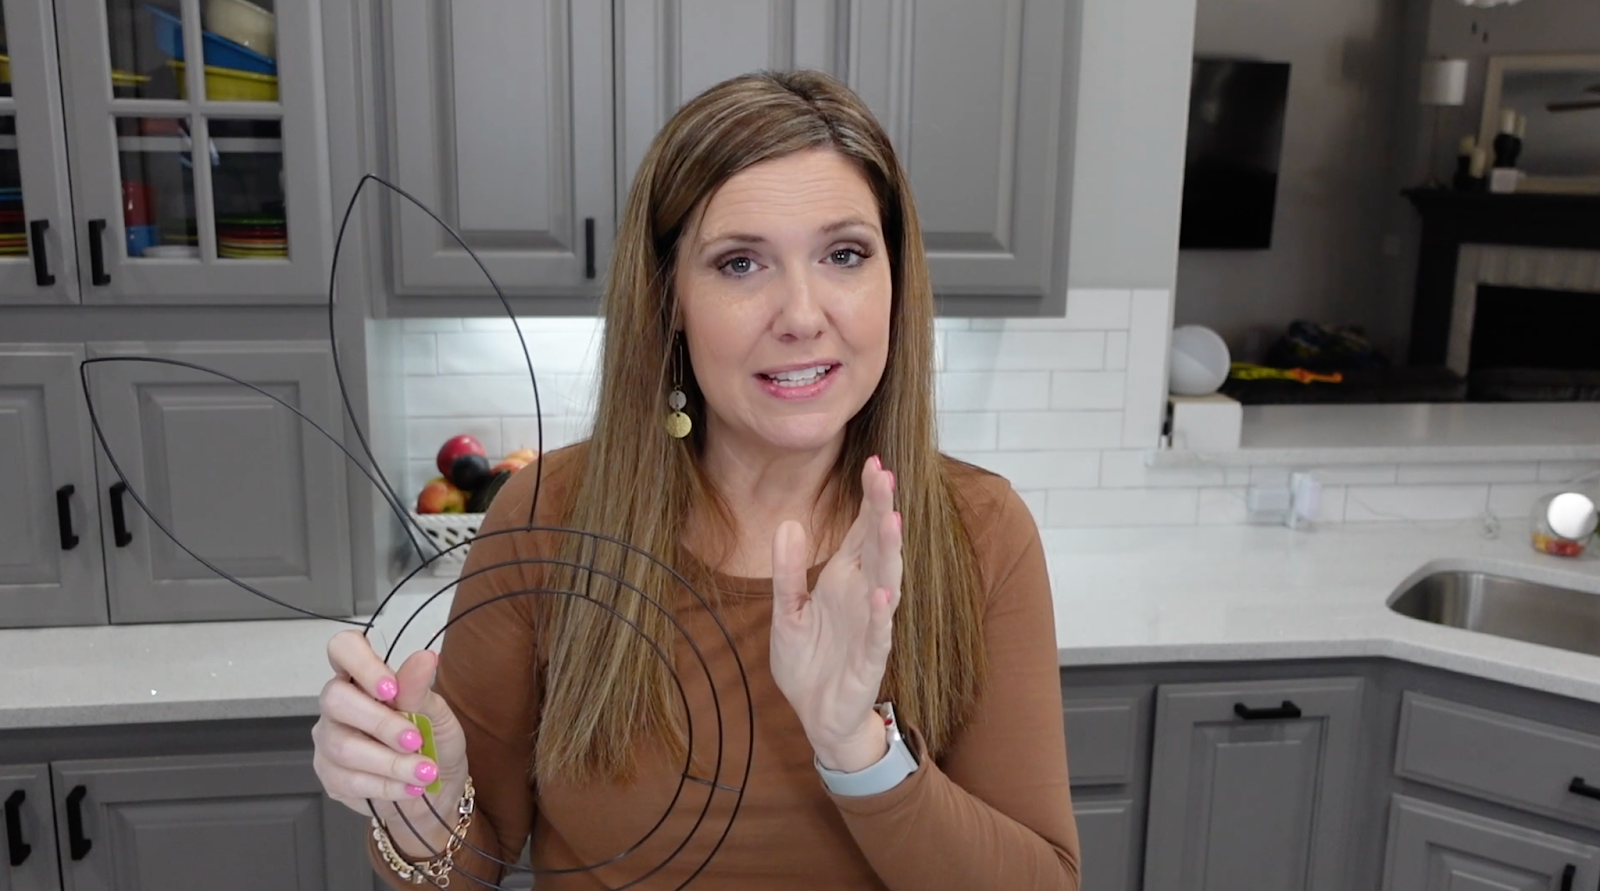
Before we dive head-first into our crafting adventure, we must first gather our essential supplies. These are the building blocks that will bring our adorable bunny wreath to life. First on our list is a bunny-shaped wreath form. These forms serve as the skeleton of our project, providing the shape and structure that we’ll build upon. They’re usually available at Dollar Tree, making them not only a vital component of our craft but also a cost-effective one.
Next up, we require some fuzzy yarn. This will serve as the skin of our bunny, adding texture and a realistic feel to our creation. Opt for shades of grey, white, or tan to mimic the natural colors of a bunny. For this particular project, I’ve chosen a soft shade of grey, which adds a touch of elegance and sophistication to the final product.
Moving on, we have a pink and white gift bag on our list. This isn’t just any ordinary gift bag, though. It’s about to undergo a transformation and emerge as our bunny’s ears, adding a delightful pop of color to our wreath. This unexpected use of a common item exemplifies the magic of crafting – turning everyday objects into something extraordinary.
Lastly, we’ll need some adorable felt bunny feet from Dollar Tree. These tiny details add a finishing touch to our wreath, bringing our bunny to life. Although one pack includes ten of these cute little feet, we’ll only be using two for this craft. The rest can be saved for future projects or even used to create matching decorations for your Easter celebration.
Now that we’ve gathered our supplies, it’s time to roll up our sleeves and immerse ourselves in the joyful process of crafting.
Crafting the Wreath
Embarking on your crafting journey, let’s start with the first step of our adventure – tying one end of the yarn onto the wreath form. This may seem like a simple task, but it’s the beginning of transforming our basic materials into a charming Easter decorations.
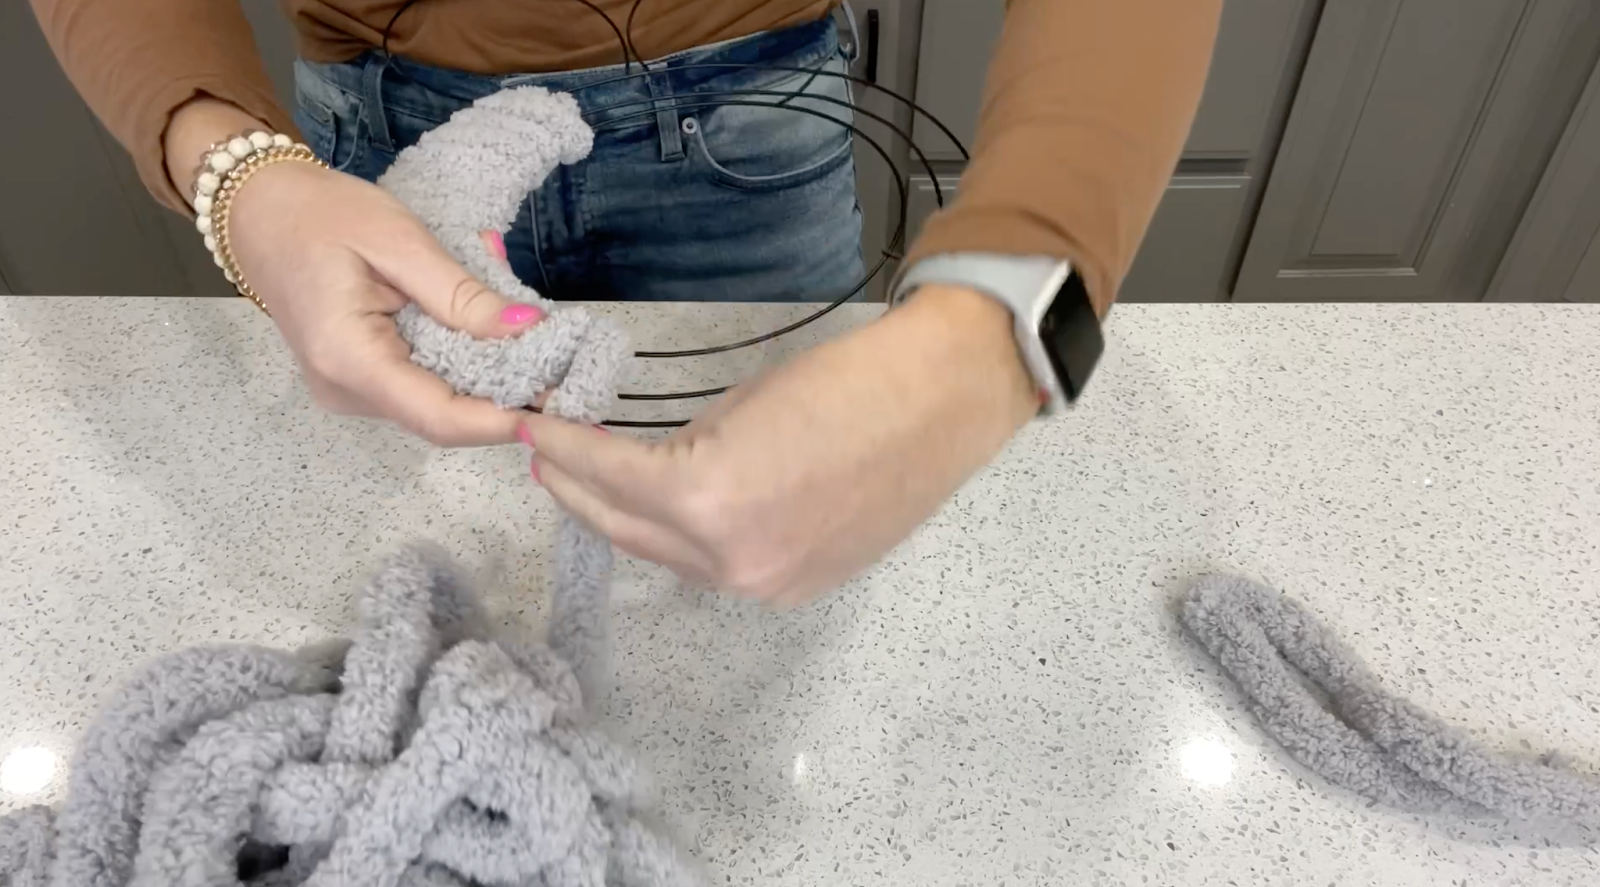
Cut a long piece of yarn and begin the process of wrapping it around the wire frame. Take your time with this step, ensuring to push the yarn together so that there are no gaps. Each wrap of the yarn brings our bunny to life, filling out its form and giving it a soft, fluffy texture. This step is especially perfect for those just starting their crafting journey as it requires no special skills, but still plays a crucial role in the final product.
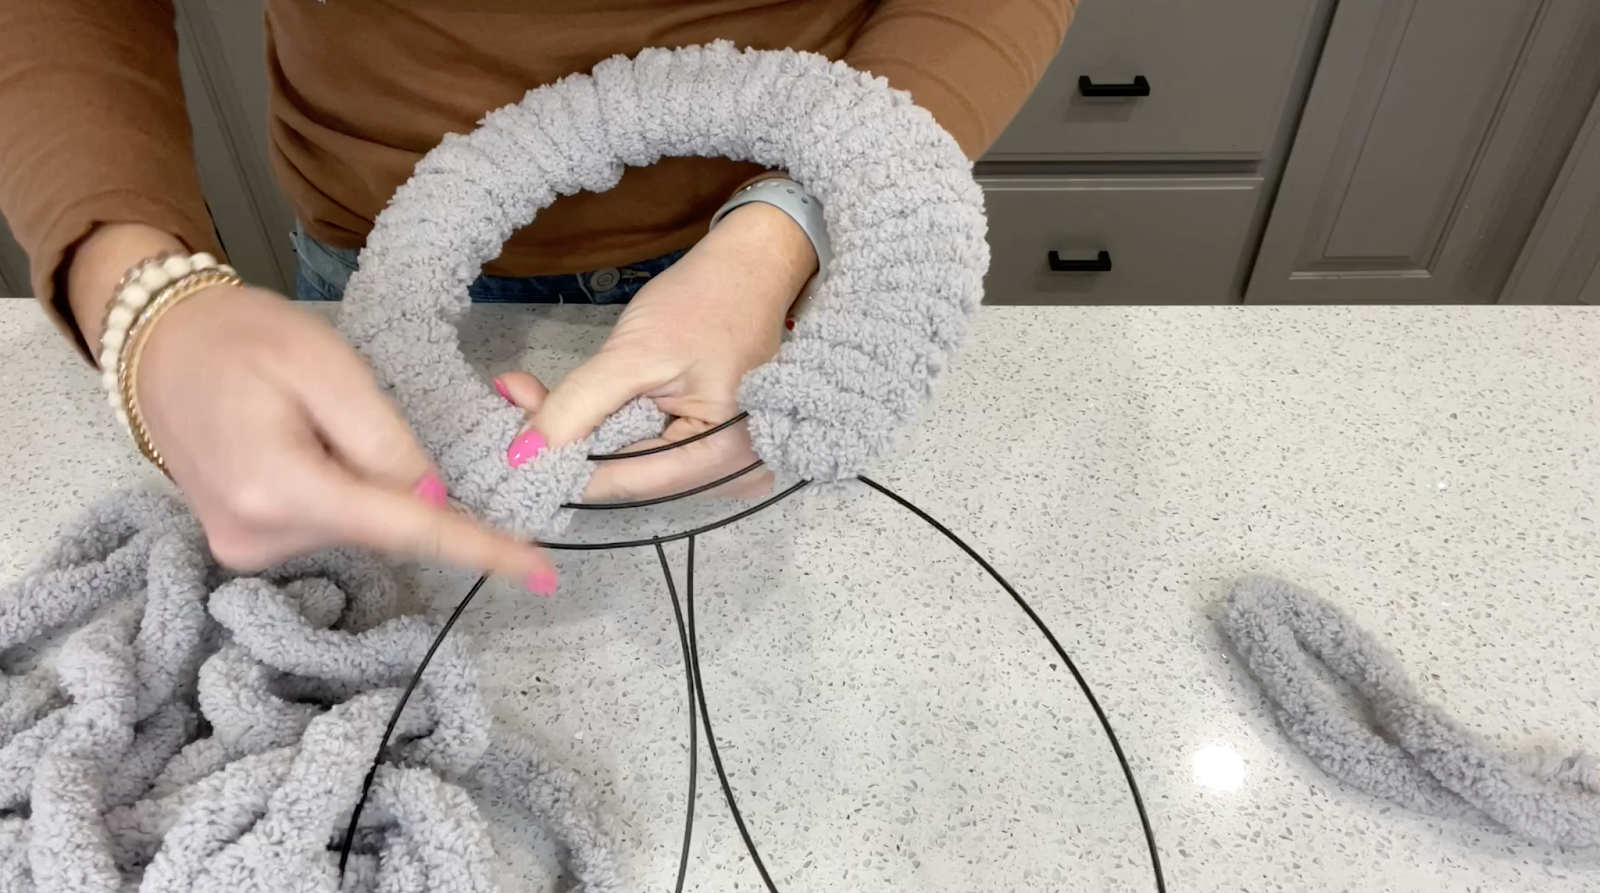
As you work your way up the bunny form, you’ll reach the ears. Here, continue weaving the yarn through them to maintain continuity in the design. The ears are an important feature of our bunny, so take extra care to cover them thoroughly. Once you’ve covered the entire form with yarn, secure the end of the yarn to the frame with hot glue.

Now, we move on to creating the bunny’s ears. Measure and trace the bunny’s ears onto the gift bag using the wire frame as a guide. After tracing, cut out the shapes and set them aside. As you hold these cut-outs, you can start to see how they will add a pop of color and character to our wreath.
Next, finish up by wrapping the yarn around the wire ears. Use hot glue as needed to secure the yarn. This not only ensures that our wreath is sturdy but also gives it a neat, finished look.
 Once you’ve finished wrapping, it’s time to add the final touches. Flip the wrapped wreath form over so that the back is facing up. Attach the cut-out gift bag pieces to the back of the ears using hot glue. Then, position the felt bunny feet at the bottom of your wreath and attach them to the yarn using hot glue. These small details might seem minor, but they’re what makes our bunny wreath truly special.
Lastly, create a hanger for your wreath by poking a piece of yarn (about 7-8 inches) through the top of the ears, forming a circular shape, and tying a knot. And voila! You’ve created a charming bunny wreath for Easter. This cheap DIY decor adds a festive touch to your home and is a testament to your craftiness.
In conclusion, crafting doesn’t need to be expensive or complex. This craft is the perfect example of how you can create something beautiful and festive with just a few affordable supplies from your local stores. It’s a testament to the fact that creativity isn’t about how much you spend, but how you use what you have.
As you continue your crafting journey, remember that it’s all about enjoying the process. It’s okay to make mistakes along the way – they’re part of learning and improving. The most important thing is that you’re having fun and expressing your creativity. So go ahead, give this craft a try, and let your home radiate with the joy of Easter!
Keep following Finding Easy for more easy life hacks, craft blogs, cheap DIY decor ideas, and family life tips. We’re here to make your everyday life simpler, more creative, and more enjoyable. Happy crafting!
Sorry, the comment form is closed at this time.