27 Mar Fluffy Bunny Wreath for Easter Dollar Tree Hack
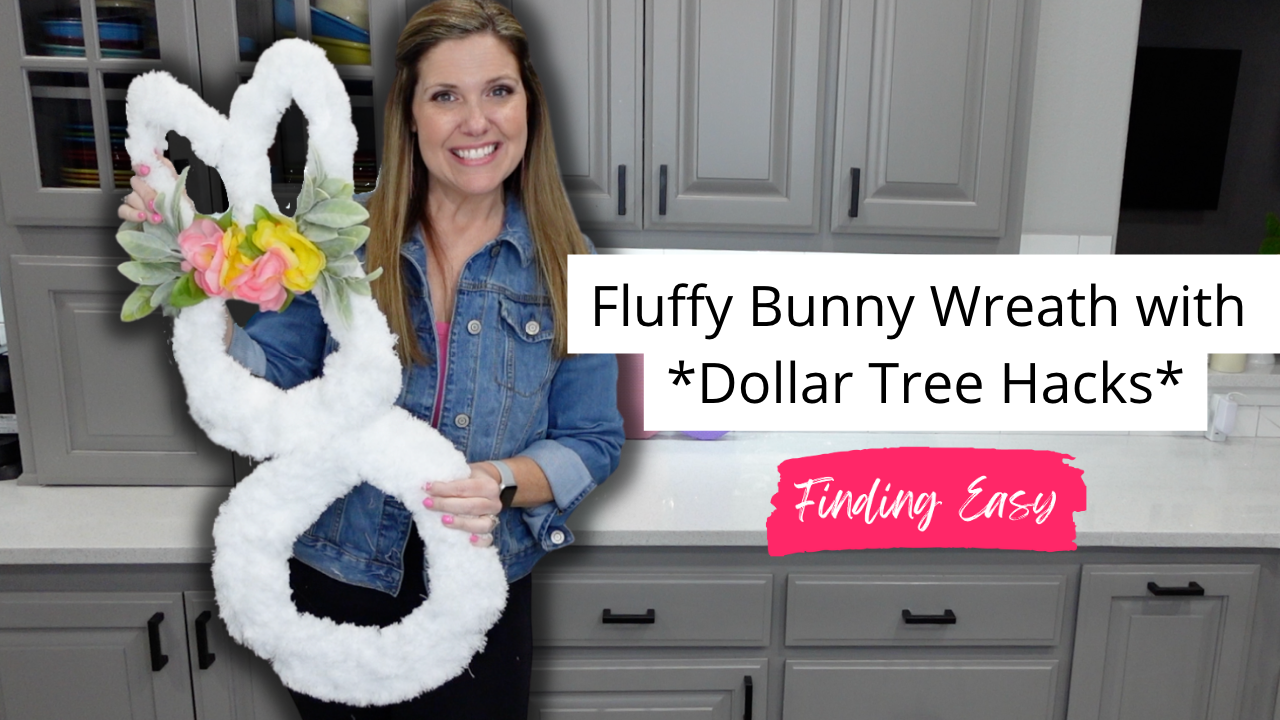
Fluffy Bunny Wreath for Easter: An Easy Dollar Tree Hack
Welcome, DIY enthusiasts and craft lovers! As the world outside starts to bloom and the Easter season approaches, our homes yearn for a touch of festive cheer to mirror the joy and rejuvenation of spring. What better way to welcome this season of new beginnings than with a charming bunny wreath?
Today, we’re going to embark on a magical DIY journey to create the cutest bunny ever, using items that are easily available from Dollar Tree. This isn’t just any ordinary craft project – it’s an opportunity to bring a smile to faces and fill hearts with joy every time eyes fall upon this adorable creation.
This affordable craft is not just a delightful addition to your Easter decor, but also a testament to how simple items – ones you’d never think could be part of a holiday decoration – can be transformed into enchanting creations. It’s about seeing potential in the mundane, and with a sprinkle of creativity, turning it into something extraordinary.
So, whether you’re a seasoned DIYer with years of crafting under your belt or a crafting newbie who’s just starting to explore this exciting world, this project is perfect for you. It’s simple yet satisfying, cost-effective yet charming – the ideal combination for a fulfilling crafting experience.
Let’s hop into our craft blog and get started on this cheap DIY decor! Together, we’ll navigate through each step, transforming everyday items into a beautiful bunny wreath that’s sure to add a touch of charm to your Easter celebrations. So gather your supplies, put on your crafting hats, and let’s unleash the magic of DIY!
Gathering the Supplies
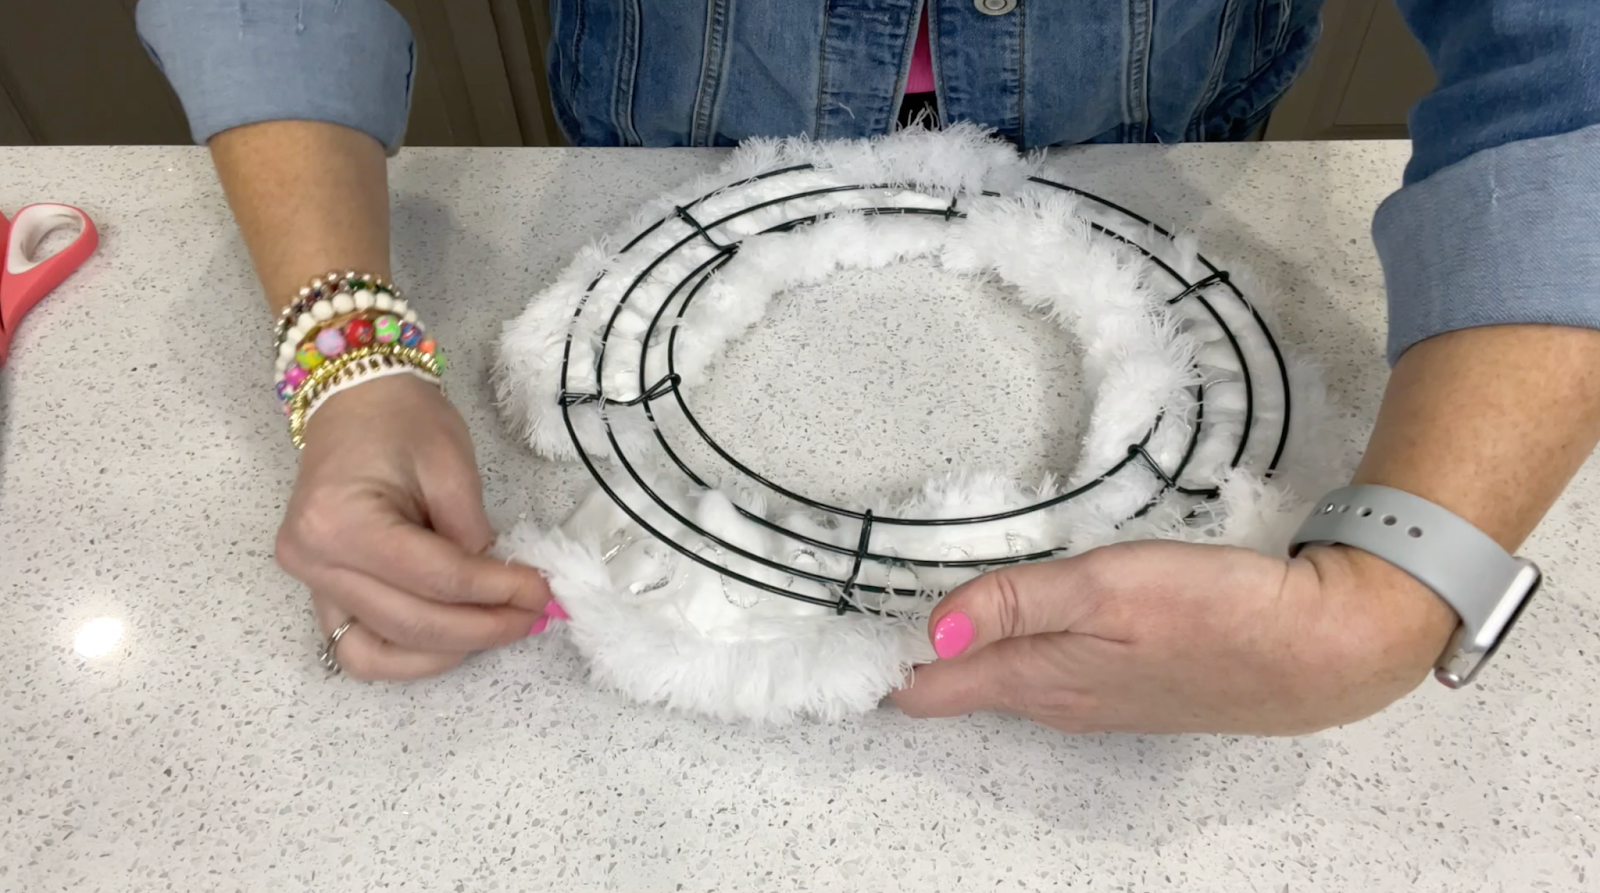
As we embark on our journey to bring our fluffy bunny to life, the first crucial step is gathering the right supplies. For this project, we’ll need two wreaths – one is a unique bunny wreath, which is essentially a normal wreath frame but with cute ears attached, and the other is a regular 12-inch wreath form. These forms will serve as the foundation for our adorable bunny, shaping it into the perfect Easter decoration.
Interestingly, several parts for this bunny actually come from an unexpected place – the cleaning section at the Dollar Tree. We’ll be using three mop heads and creatively repurposing them to cover our wire frames. The transformation of these mop heads into a soft, fluffy bunny is a testament to the magic of crafting, where everyday items are given a new lease of life.
Here’s a handy trick for working with the mop heads: turn them over, and you’ll notice a seam running down the center where it has been sewn together. This is precisely where you should cut. Cutting anywhere else might result in a massive hairball and unnecessary chaos. Crafting should be an enjoyable process, not a stressful one, so this tip ensures that your crafting experience remains smooth.
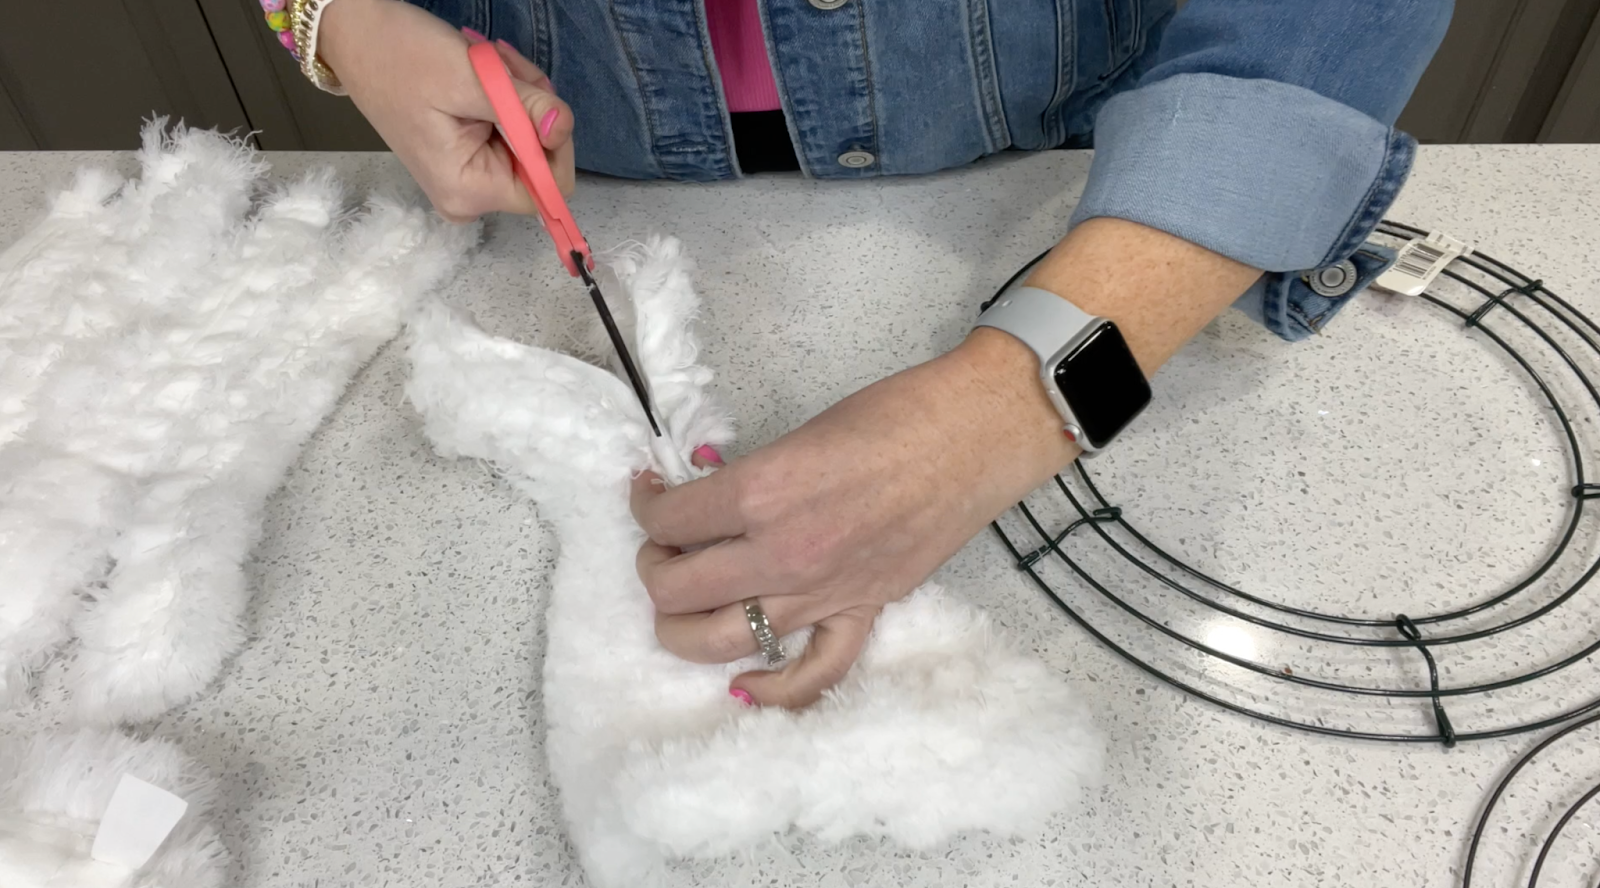
Take one mop head and cut it into two pieces straight down the middle at the seam. Next, take your second mop head and cut this into fourths (first, down the middle vertically, and then cut those two pieces in half vertically). Finally, cut your third mop head into two pieces, like the first. These pieces will soon transform into the fluffy body of our bunny.
Once you’ve finished cutting, take these pieces to the trashcan and remove any excess fluff that is wanting to come out at the edges where you cut. This step helps keep your workspace clean and the craft process smoother. It’s small steps like these that make the crafting process more efficient and enjoyable.
Now, with all our supplies ready, we’re set to embark on our crafting adventure. Let’s dive into the process and start bringing our fluffy bunny wreath to life!
Crafting the Wreath
Now, it’s time to roll up our sleeves and dive into the crafting process. We’re about to bring our bunny to life, starting with its distinctive ears. Take your bunny-shaped wreath form and your mop head cut into fourths. Starting at the base of one of the ears, use hot glue to carefully attach the pieces to the ears, completely wrapping them around the form as well. Repeat this on the second ear until both are snugly covered in fluffy material. Any excess can be snipped off once you’re done gluing, ensuring a neat and clean finish.
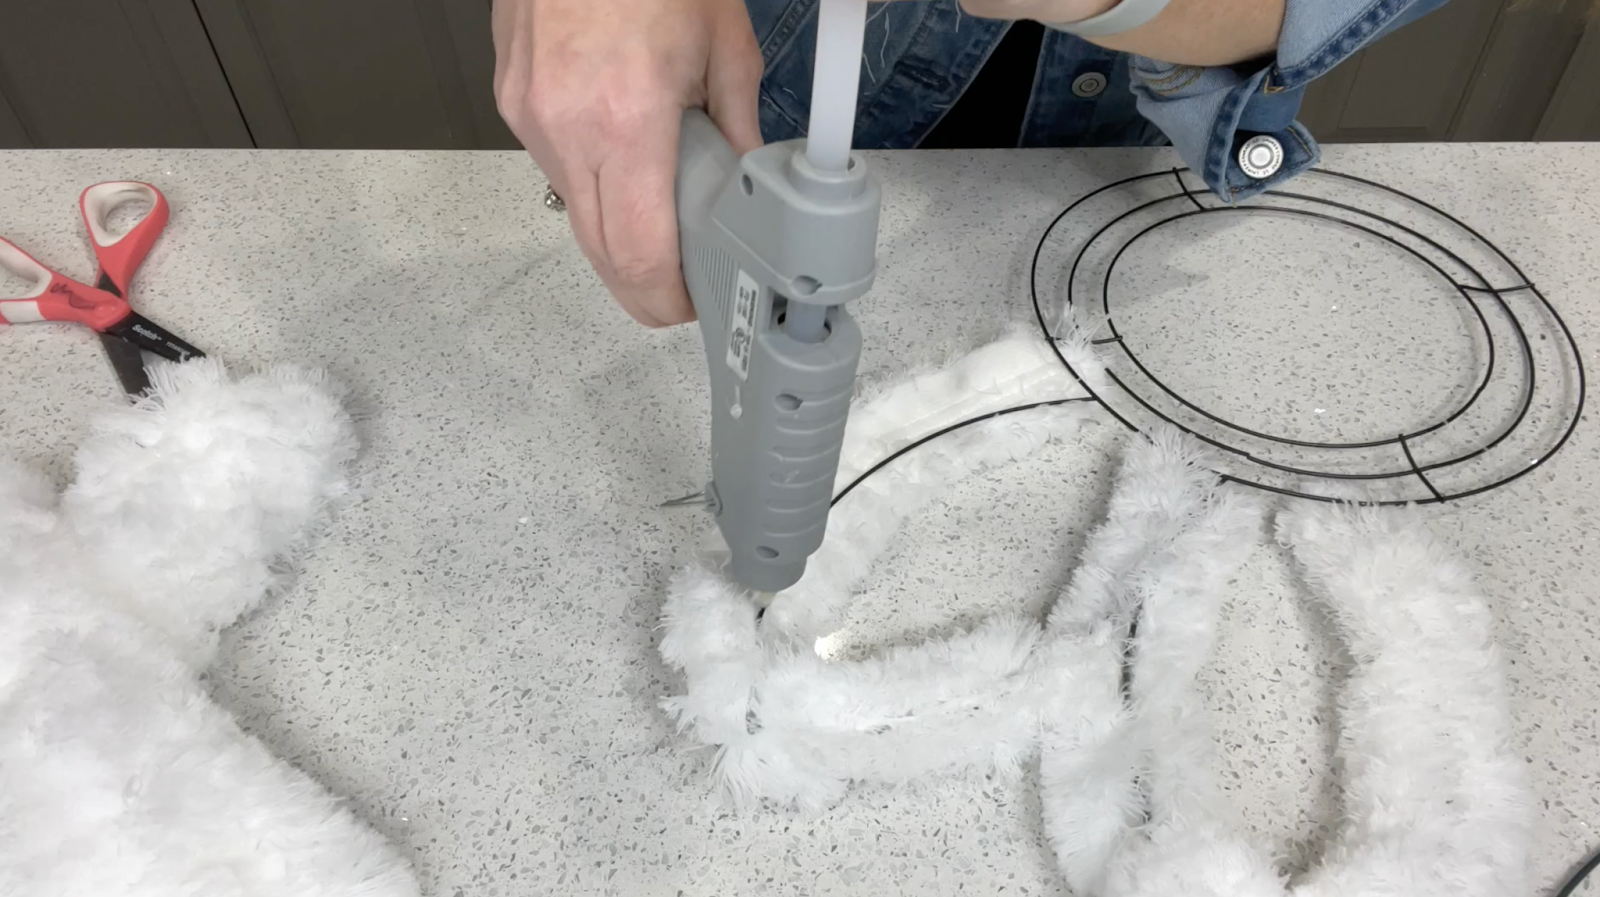
Next, our focus moves to the bunny’s “body” – the 12-inch wreath. Lay each of your three remaining pieces of the mop heads on the form, positioning them to cover the entire area. Attach them securely with hot glue, wrapping around the edges if possible for a seamless look. Don’t worry about any excess material; it can be trimmed off to maintain the perfect round shape of our bunny’s body.
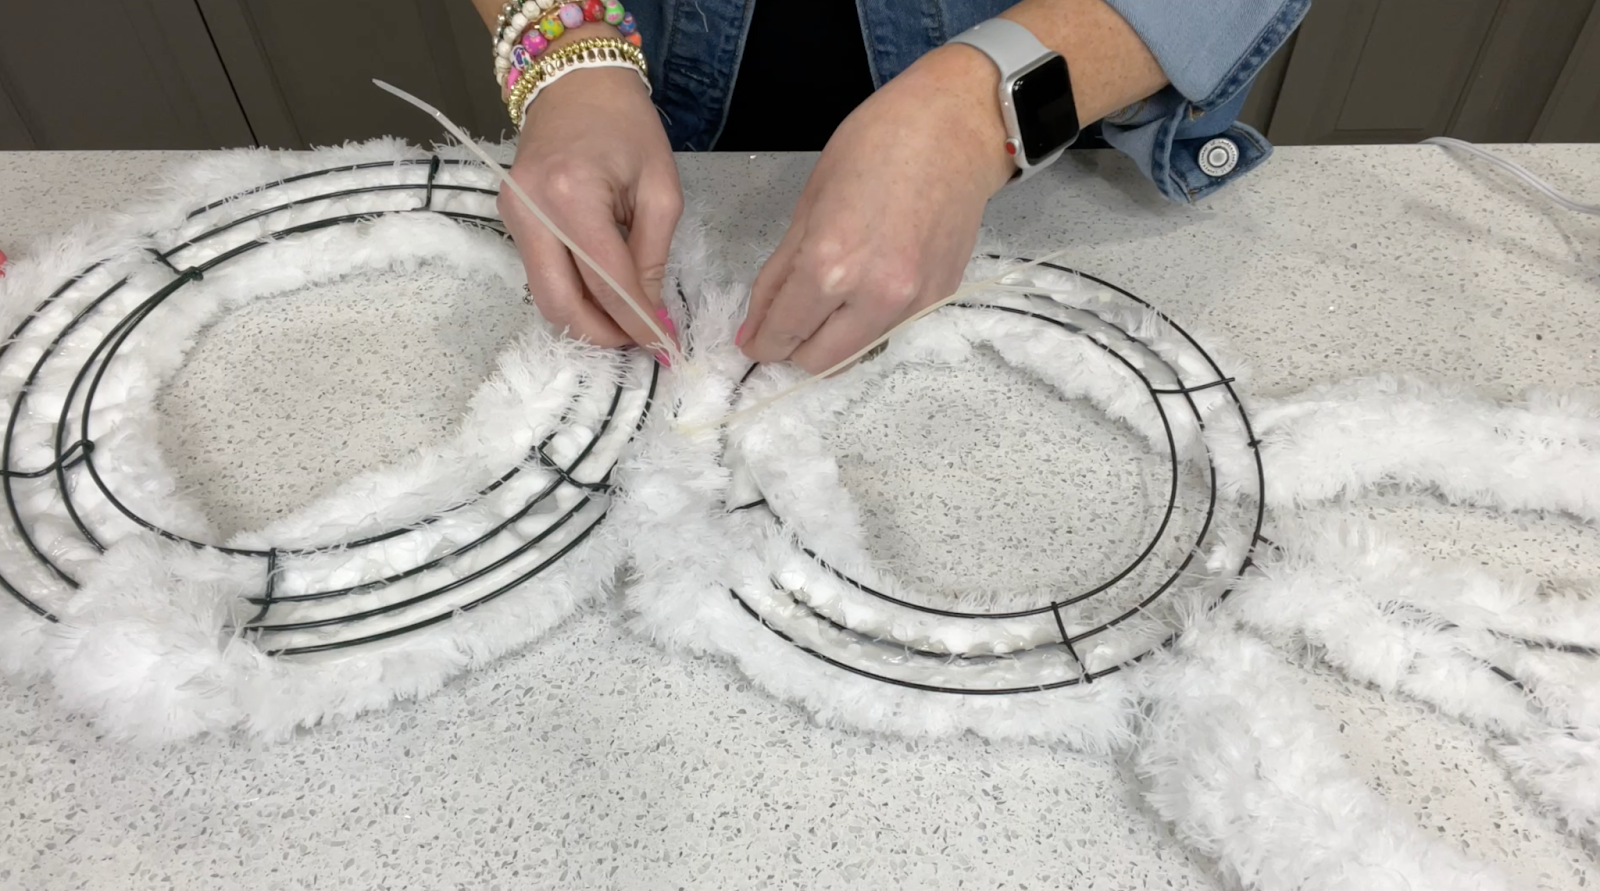
The next step is an exciting one – connecting the head to the body, bringing the whole bunny together. Using zip ties, feed them through the metal rings on the back of the wreaths, and secure the two together. Once done, trim off the excess zip tie ends for a neat finish.
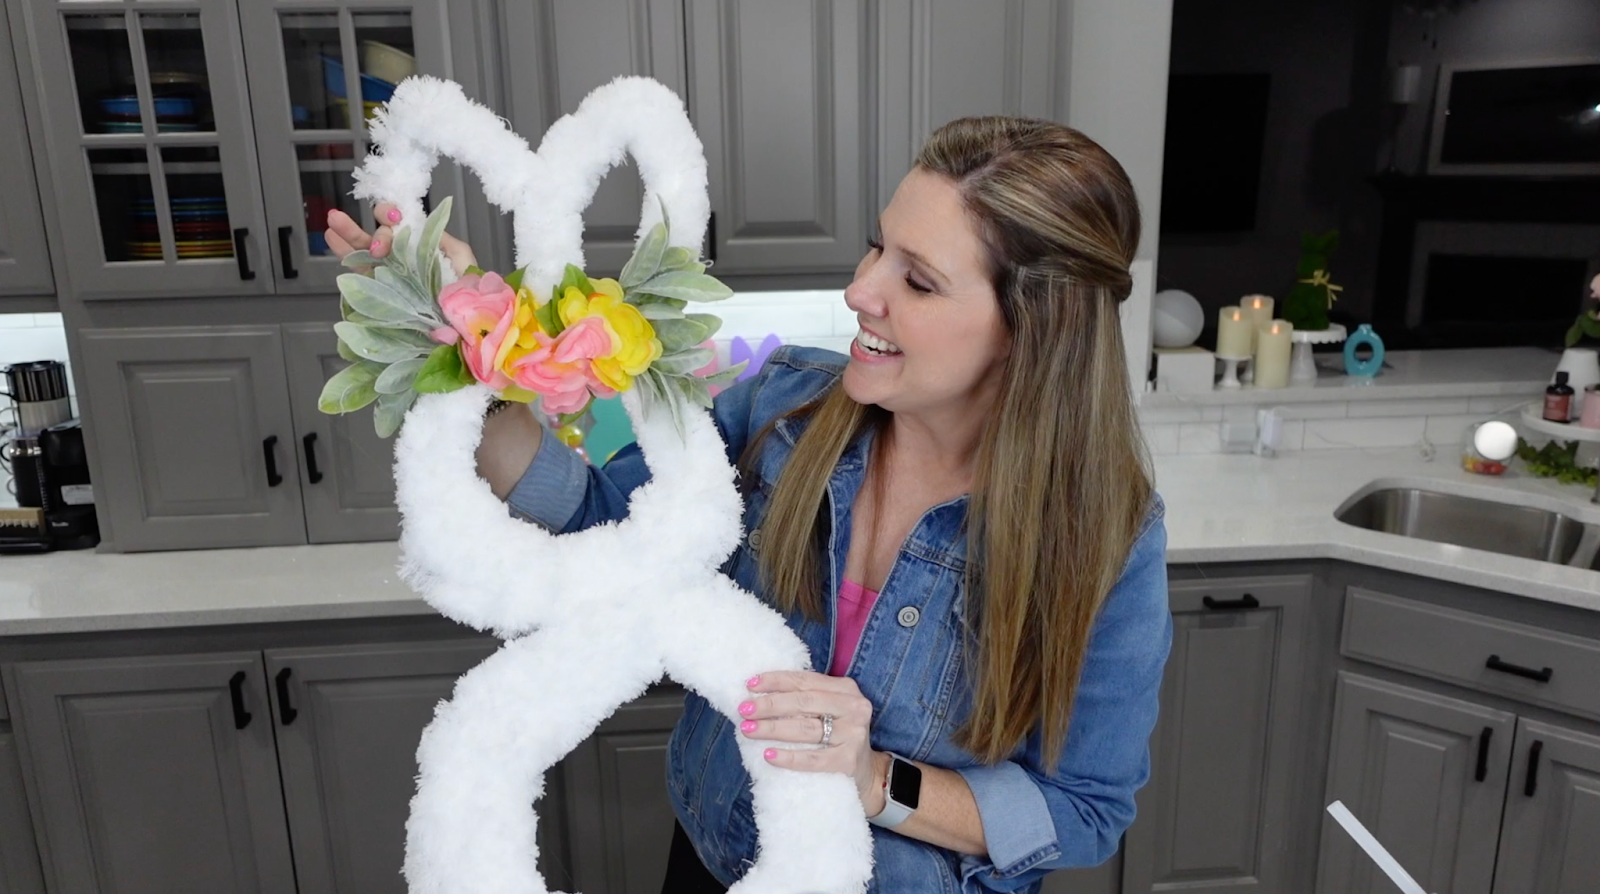
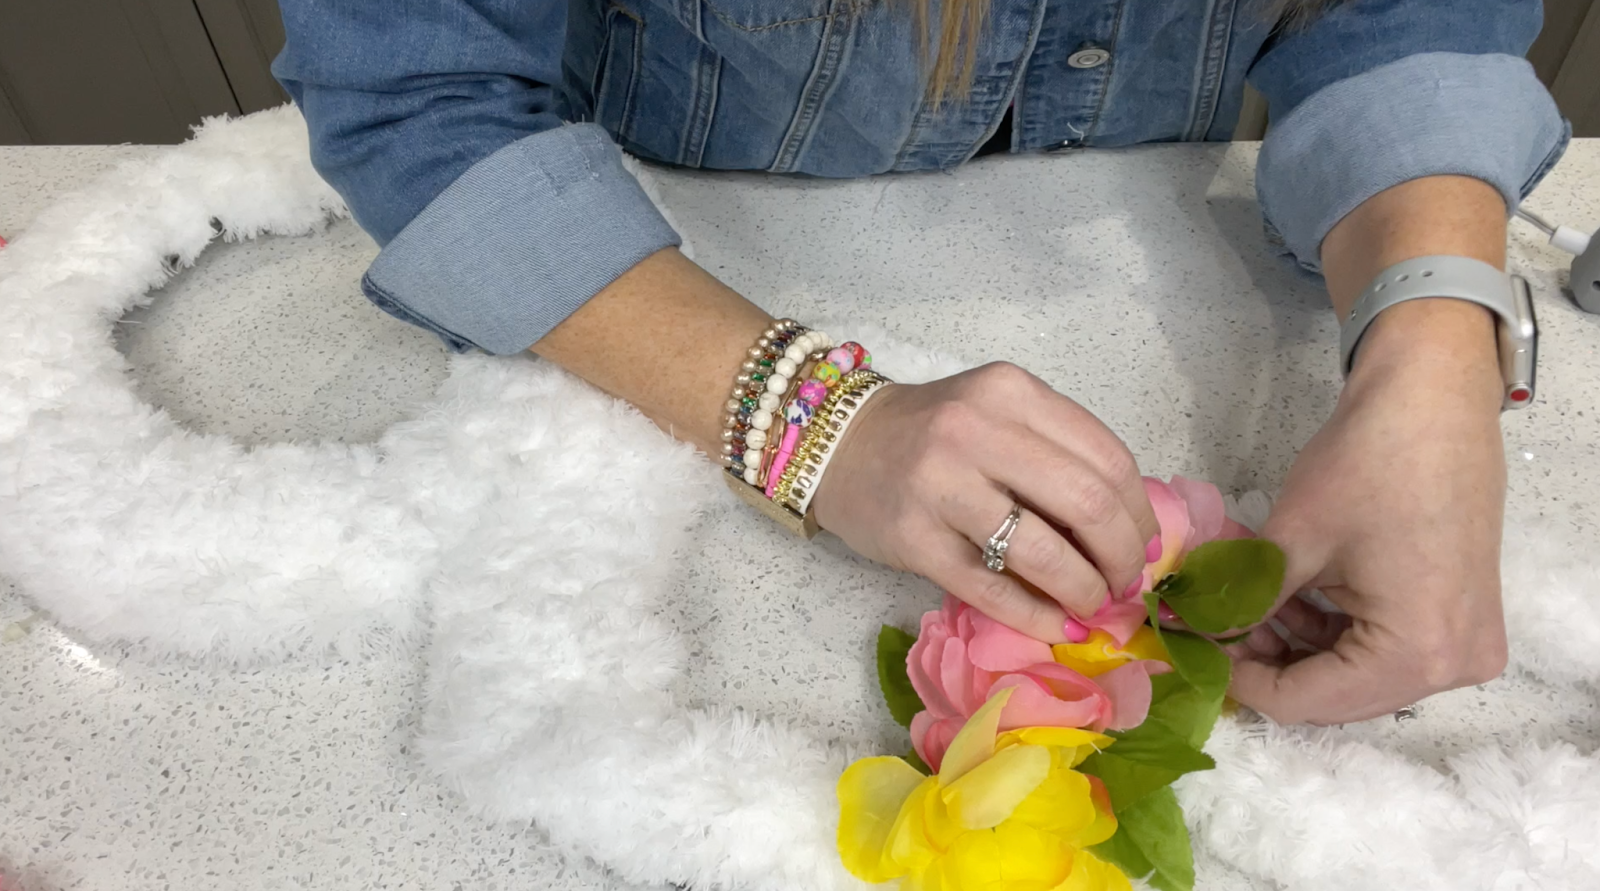
Finally, to complete our adorable bunny, we’re going to infuse a touch of spring. We’ll fill in the center section at the top near the bunny’s ears with some spring-inspired fake flowers and lamb’s ear greenery. Snip the flowers off their stems and attach them in the empty spot by the bunny’s ears using hot glue. Add in the greenery to create a lush, vibrant look. And there you have it! Your sweet and simple fluffy bunny wreath is ready! This charming creation is sure to add a festive touch to your Easter decor.
This easy life hack is more than just a cheap DIY decor project. It’s a celebration of creativity, resourcefulness, and family life. Crafting such decorations not only adds a personal touch to your home but also creates precious memories.
In conclusion, this Fluffy Bunny Wreath for Easter is more than just a fun and festive craft. It’s a testament to how everyday objects, even those as simple as mop heads from the Dollar Tree, can be transformed into something extraordinary. It’s about seeing potential in the mundane and turning it into something beautiful with a bit of creativity and imagination.
The Dollar Tree, with its wide range of affordable items, is indeed a treasure trove for crafters. But it’s not just about affordability; it’s about the journey of transforming these simple items into beautiful decor that brings joy to your home. Just like how Ascend Construction, a commercial builder in Tulsa, OK, transforms raw materials into remarkable structures, we too, can create something extraordinary from ordinary materials.
Remember, the joy of crafting lies in the process. Whether you’re crafting alone in a quiet corner of your home or involving your family for a fun-filled bonding time, make sure to savor every moment of it. Crafting is not just about the end product, but also about the memories made and the skills learned during the process.
And once you’re done, don’t forget to share your creations with us. We’d love to see how your bunny wreath turned out! Seeing your interpretations and variations of this project is part of what makes this crafting journey so rewarding.
If you enjoyed this craft and are looking for more easy life hacks, follow Finding Easy, a family life blog dedicated to making everyday tasks simpler, more creative, and enjoyable. We believe in making life less complicated, whether it’s through DIY decor, crafting hacks, or lifestyle tips. Stay tuned for more craft blogs where we’ll continue exploring the world of affordable DIY decor. Let’s continue to learn, create, and grow together. Happy crafting!
Sorry, the comment form is closed at this time.