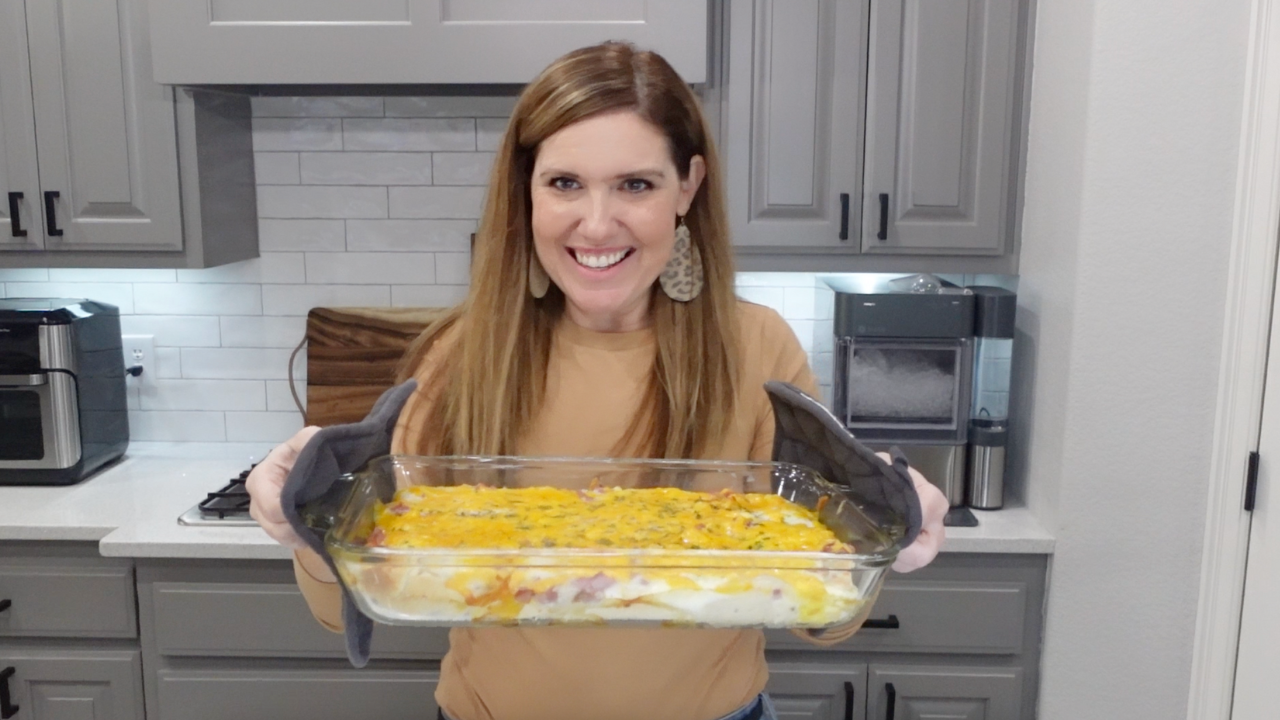
15 Jan Pizza for breakfast? Why not! These easy breakfast squares are a must-try.
Need an easy and affordable lunch to make for your entire family on the weekend? In our family, Sundays after church are a prime meal time for me, my husband, Matt, and our 3 kids. However, Sundays are always a very busy day for us, leaving me little time to do any meal prep prior to lunch.
Where do I turn? To simple and delicious recipes that are favorites for my entire family time and time again. Let me share one of those fan-favorite recipes with you! This recipe is a pizza-crust-based layered breakfast bake that only has a few steps and makes 6-8 large breakfast squares. Because who says you can’t eat breakfast for lunch?
What You Need
You will need several ingredients and a couple of kitchen essentials to create this recipe at home. Here are 2 lists that include everything you need for this recipe:
Kitchen Tools
- 1 large rectangular glass baking dish, the bigger the better!
- 1 regular whisk
Ingredients
- 1 package of Pillsbury Pizza Crust
- 1 package of Pioneer gravy mix (or your choice of gravy mix)
- Toppings such as diced ham, sausage, and/or bell peppers
- 6 eggs
- Shredded cheddar cheese (or whatever your family likes best)
- A pinch of garlic powder
- A pinch of parsley
- Salt to taste
- Pepper to taste
Pre-Baking Crust & Gravy
This recipe comes together quickly, so let’s jump in. First, take a look at the back of your Pillsbury Pizza Crust package. Preheat your oven, then follow the pre-baking instructions for the crust. Bake the pizza crust in your large rectangular glass baking pan, spreading the dough evenly across the bottom so it reaches all four corners of the pan.
While the pizza dough is pre-baking, this is the perfect time to make your gravy. I prefer to use Pioneer gravy mix because it is a peppery gravy, which adds a little bit of spice to the recipe. Follow the instructions on your gravy package and heat on the stovetop til the gravy is warm and easily pourable.
When it is time to take your pizza crust out of the oven, remember that if it is still a little bit doughy, that is ok! We are going to throw it back into the oven later on once our other layers have been added. That said, make sure that you leave your oven on, at the same temperature that you baked the pizza crust. Once your crust has been pre-baked and your gravy has been made, it is time for the next steps.
Pulling It All Together
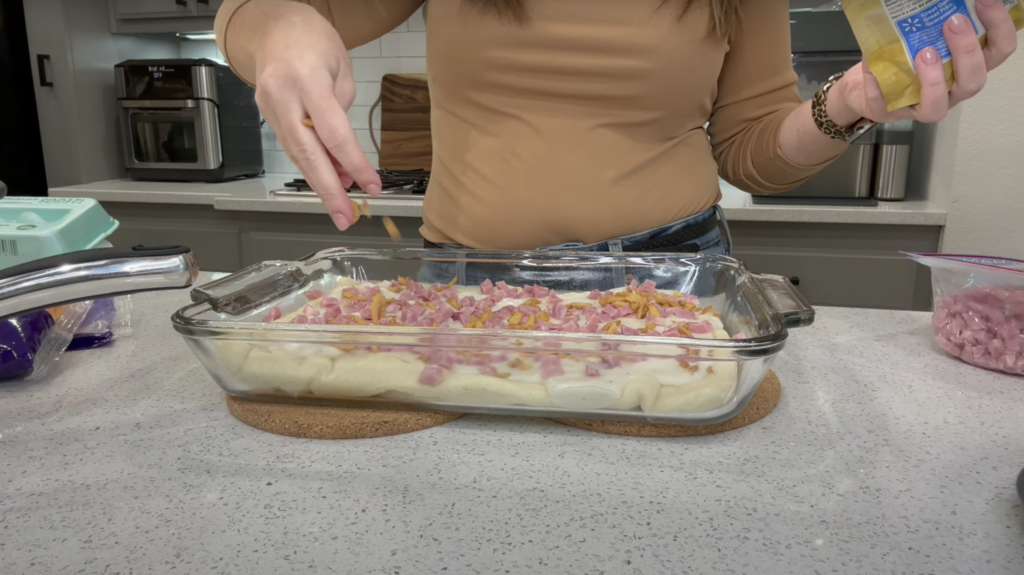
Next, you will want to make sure that you have your gravy ready to go as well as your favorite toppings. I am using diced ham and French’s Fried Onions. You can use whatever toppings you like, whether those toppings be meat or veggies. Here are some examples of additional topping options:
- Diced bell peppers
- Finely chopped onion
- Chopped spinach
- Bacon crumbles
- Small chunks of breakfast sausage
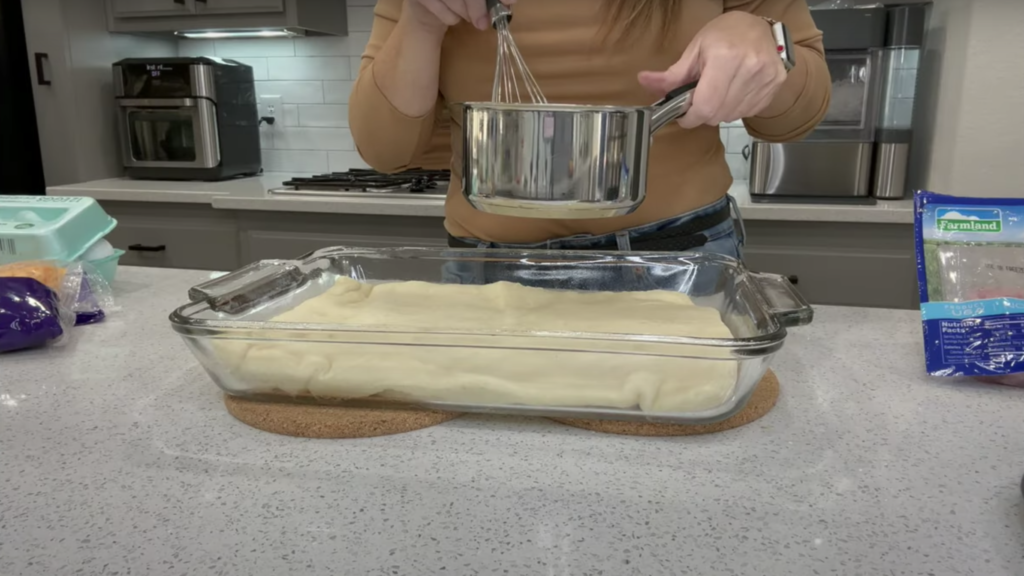
It is time to officially pull everything together! Directly on top of your pre-baked pizza dough, pour out your gravy. If you would like to save some gravy to top the breakfast squares with at the end, reserve about a quarter of your gravy for this purpose and keep it warm on the stovetop.
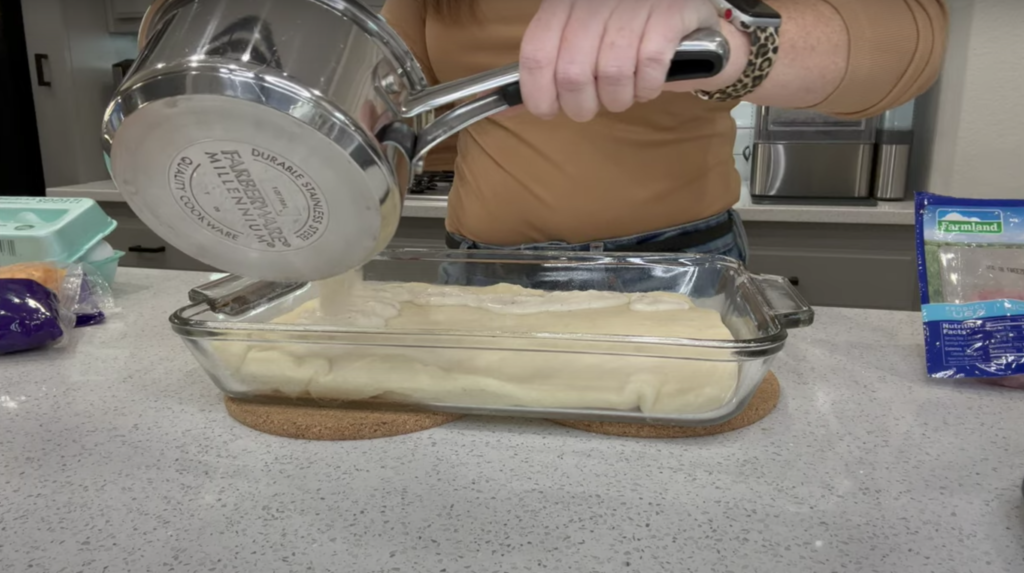
Spread out your gravy evenly across the dough just as you would pizza sauce. Make sure that it is spread all the way out to the edges of the baking dish so that every breakfast square will have the same amount of gravy.
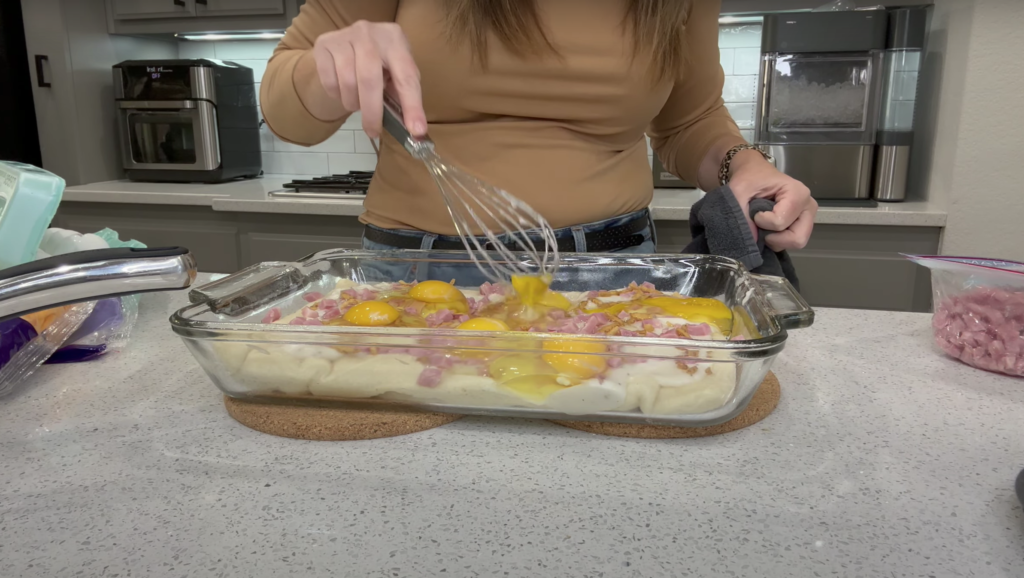
Next, load up the gravy layer with your toppings, making sure that they are evenly placed on top of the gravy. After you have done this, it is time to add your six eggs.
Once you have your eggs ready, crack your eggs into the baking dish, making two rows of three across. I like to crack my eggs by softly hitting each egg with a butter knife and then separating the shell. You will now need to grab your whisk. Use your whisk to gently break each of the six egg yolks so that the egg yolks and whites become more of a homogenous mixture. Try to do this without disturbing your layers of toppings and gravy, but, like most everything in this recipe, it does not have to be perfect to get a tasty end result.
Now you will want to top the eggs with shredded cheese. I am using cheddar because that is what my family likes best. Feel free to choose whichever type of cheese your family tends to enjoy the most! Make sure to layer it on thick for maximum cheesiness and flavor.
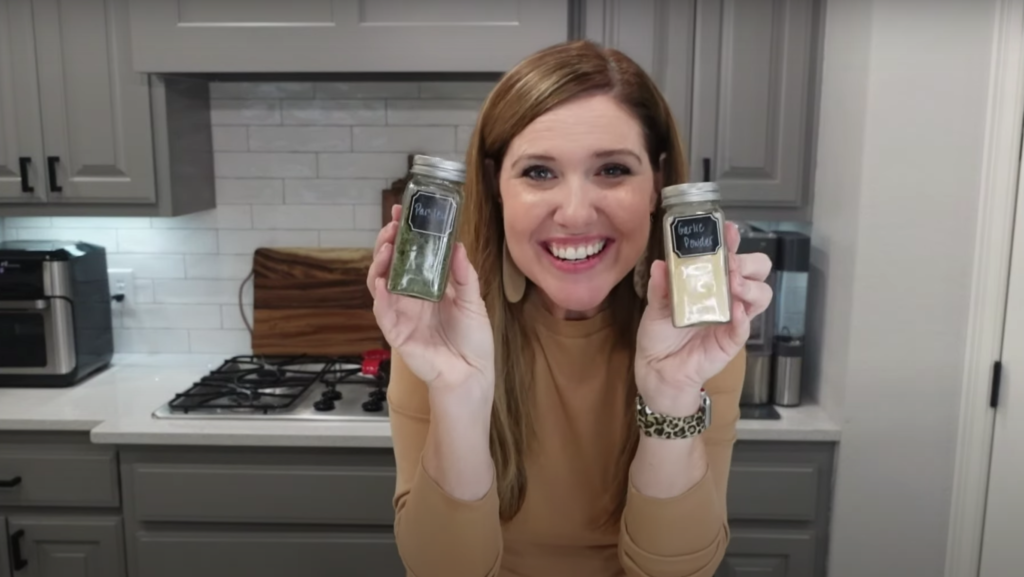
There is one last step before you will throw your dish back into the oven. On top of the cheese layer, sprinkle a pinch of garlic powder evenly across. Then, sprinkle dried parsley across the cheese (eyeball it!) as well. The parsley adds a subtle flavor, but in my house, I have to be careful I don’t put on too much, or my kids won’t want to eat it because they see green! Last, add salt and pepper to taste. I prefer fresh-ground salt and pepper. Adding spices is made extra special by the matching spice containers I got from Amazon!
Final Bake
Your dish is minutes from being completed! Put your baking dish back into the oven for 6-10 minutes, as these are the instructions to complete the baking of the pizza crust. I went ahead and put mine in the oven for 6 minutes, and then checked to see if the dish was cooked all the way through or if it needed a few more minutes. Depending on your oven, this process will vary.
After the 6 minutes were up, I pulled the baking dish out of the oven. It smelled amazing! I used a toothpick (you can also use a butter knife or fork) to stick all the way down to the bottom layer and make sure everything has cooked through, especially the eggs and pizza crust. After 6 minutes, my breakfast squares were ready to be served!

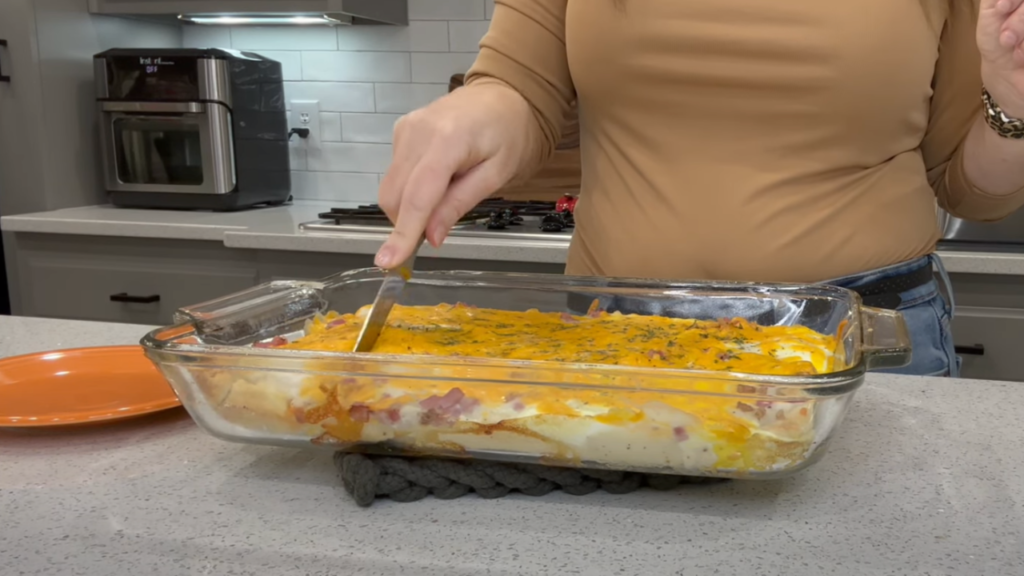
To serve, cut the dish into 6-8 evenly spaced squares. Scoop out your squares with a spatula and serve individually on plates. If you reserved a bit of your gravy, you can now pour the gravy over each square or let your family members serve themselves!
This recipe is quick, affordable, filling, and makes enough for the whole family, no other sides are needed. I hope you enjoyed making this recipe!
Sorry, the comment form is closed at this time.