01 Apr Dollar Tree Hack – How To Turn A Halloween Sign Into A St Patrick’s Day Sign
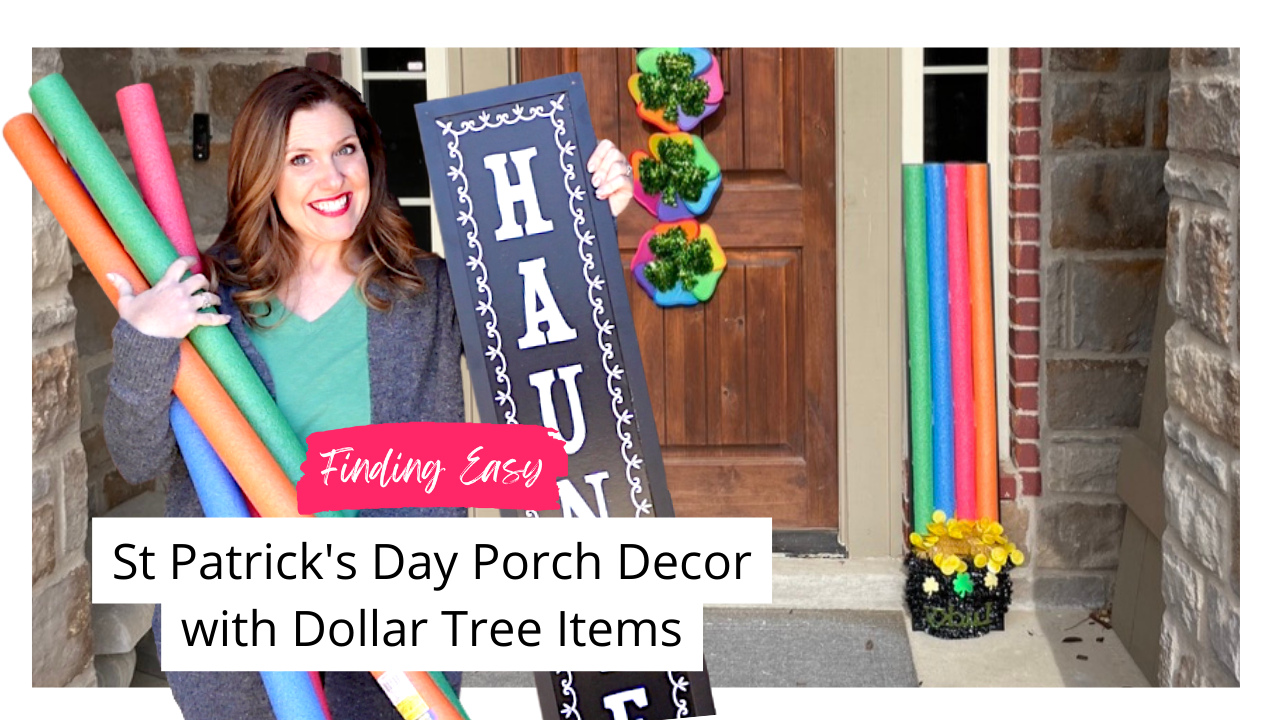
As the vibrant spirit of St. Patrick’s Day approaches, it’s time to unleash your creativity and embrace the festive colors of green and rainbow. If you’re looking to add a touch of Irish cheer to your porch, I have a delightful DIY project for you! With just a few budget-friendly items from the dollar store and a dash of creativity, we can turn a leftover Halloween sign into a charming St. Patrick’s Day porch decoration. Let’s dive into the process and create a festive rainbow sign with a pot of gold at the end!
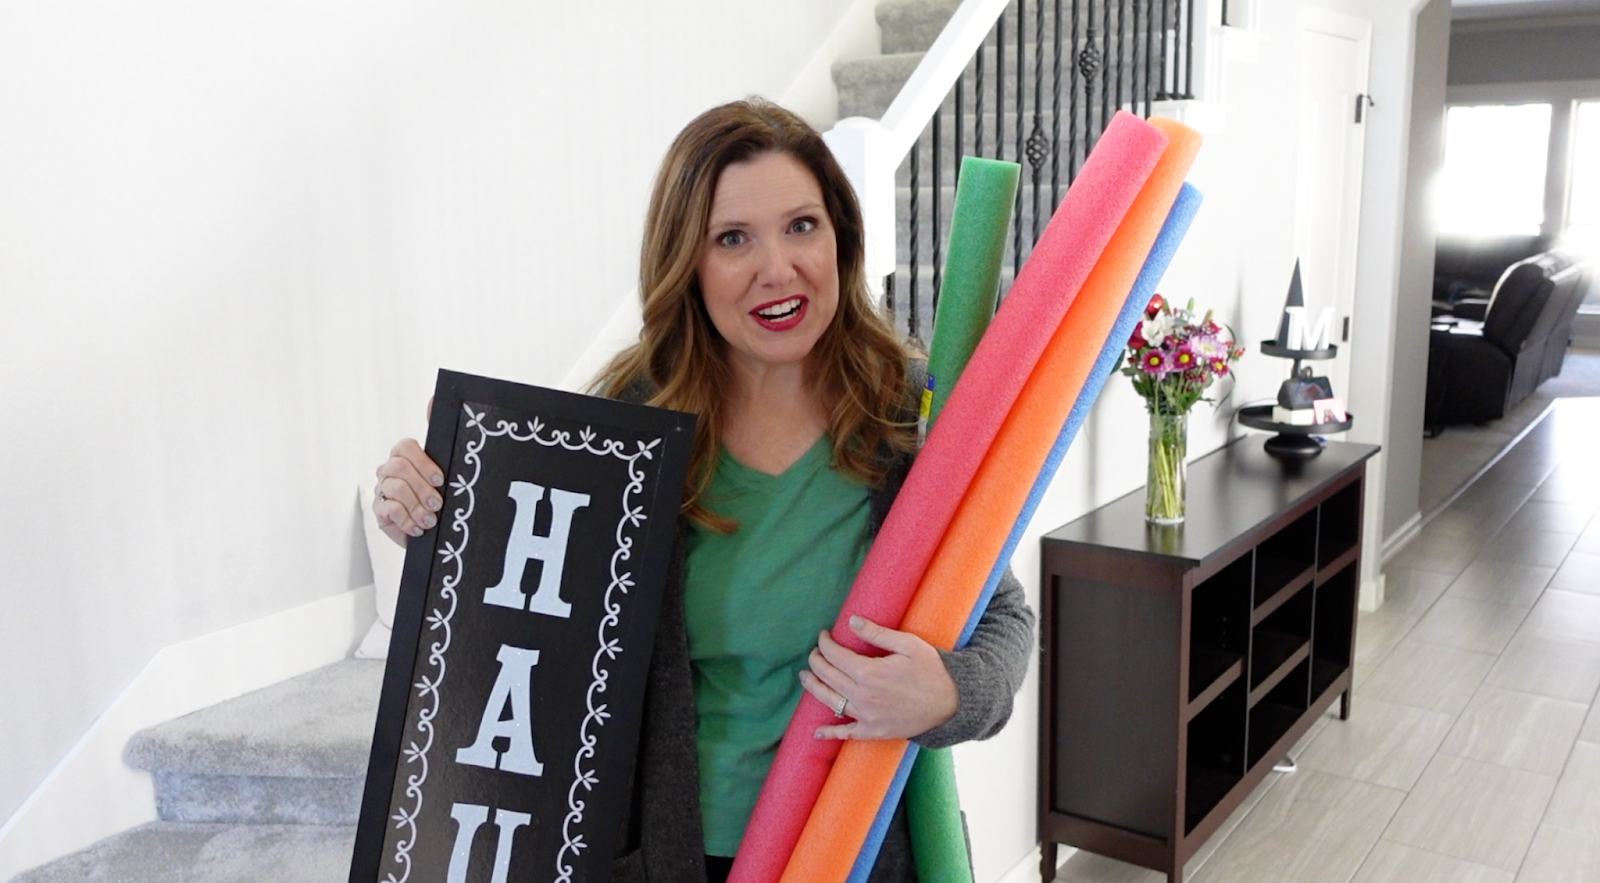
Step 1: Gather the Materials
To begin, we will need four pool noodles and a leaning sign from the dollar store. The sign I chose happened to be a Halloween leftover that I snagged at Christmas time for a mere $1.25. Don’t hesitate to ask the store manager for discounts on out-of-season items. Let’s turn these dollar store treasures into an adorable St. Patrick’s Day porch decoration.
Step 2: Embrace the Colors
St. Patrick’s Day is synonymous with the color green, and I absolutely adore it! I also have a soft spot for rainbows, as does my enthusiastic 3-year-old, who declares that his favorite color is “all the colors of the rainbow.” Hence, I decided to create a rainbow effect using four pool noodles—red, orange, green, and blue. Feel free to choose your preferred colors from the wide selection available at the dollar store.
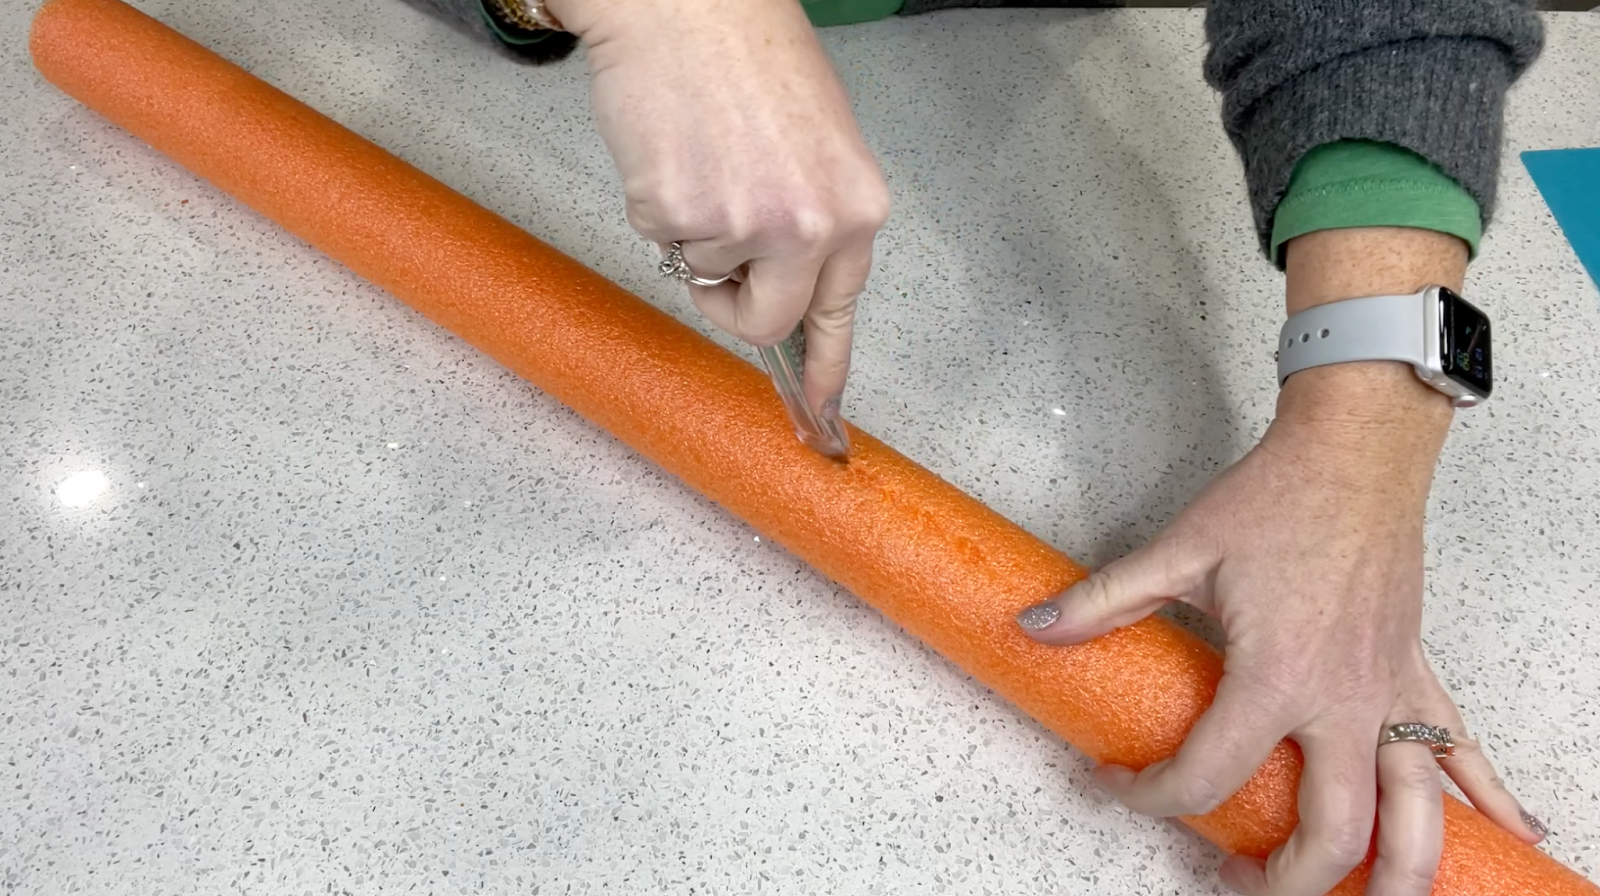
Step 3: Cutting the Pool Noodles
Grab your pool noodles and cut each of them in half lengthwise. You can use scissors, a box knife, or any other cutting tool you prefer. Personally, I found that a box knife effortlessly sliced through the pool noodles like butter. It’s incredibly satisfying to work with these soft, pliable pool noodles!
Step 4: Attaching the Pool Noodles to the Sign
Take half of the cut pool noodles and position them on the front of your sign. The sign may have a black, brown, or white frame. If you’re not fond of the frame color, you can always use the back of the sign. I chose the front, as I appreciated the contrasting black frame. The length of the leaning sign perfectly matches that of the full-sized pool noodles, making it an ideal fit for this project. Line up the pool noodles along the top edge of the sign, allowing a slight overlap with the frame. This gives the decoration a polished and finished appearance.
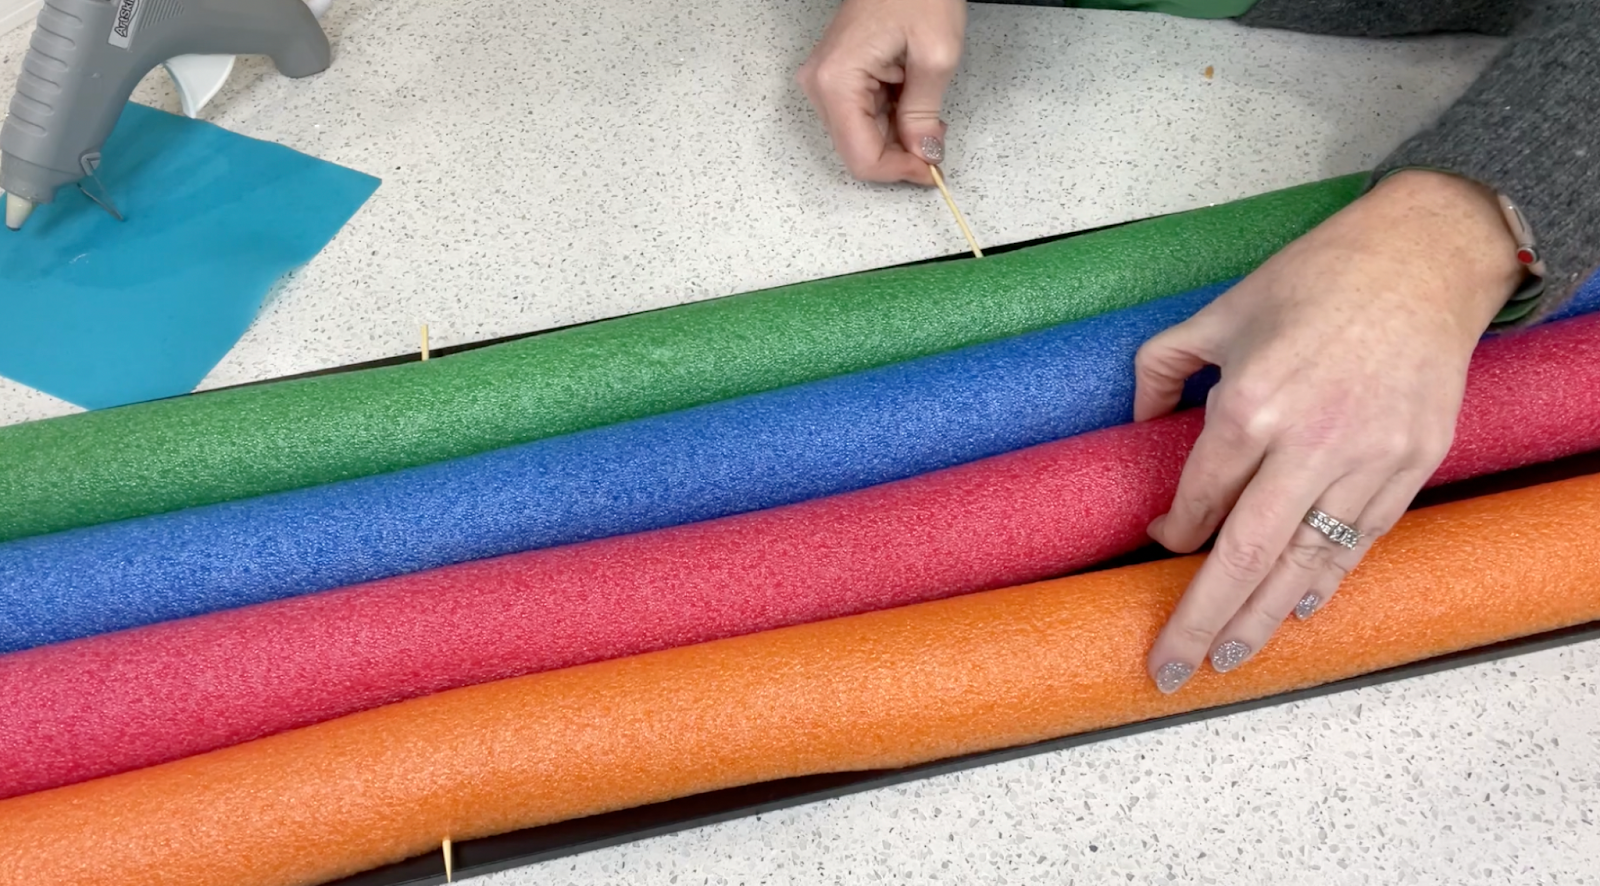
Step 5: Securing the Pool Noodles
To ensure that the pool noodles stay in place while the glue dries, grab a long bamboo skewer. Align a couple of pool noodles at the edge and insert the skewer through them. Gradually add the third and fourth pool noodles as you continue pushing the skewer through. This clever trick will keep the pool noodles aligned and secure. Start by applying hot glue along the bottom or top edge of the sign, adhering the pool noodles to it.
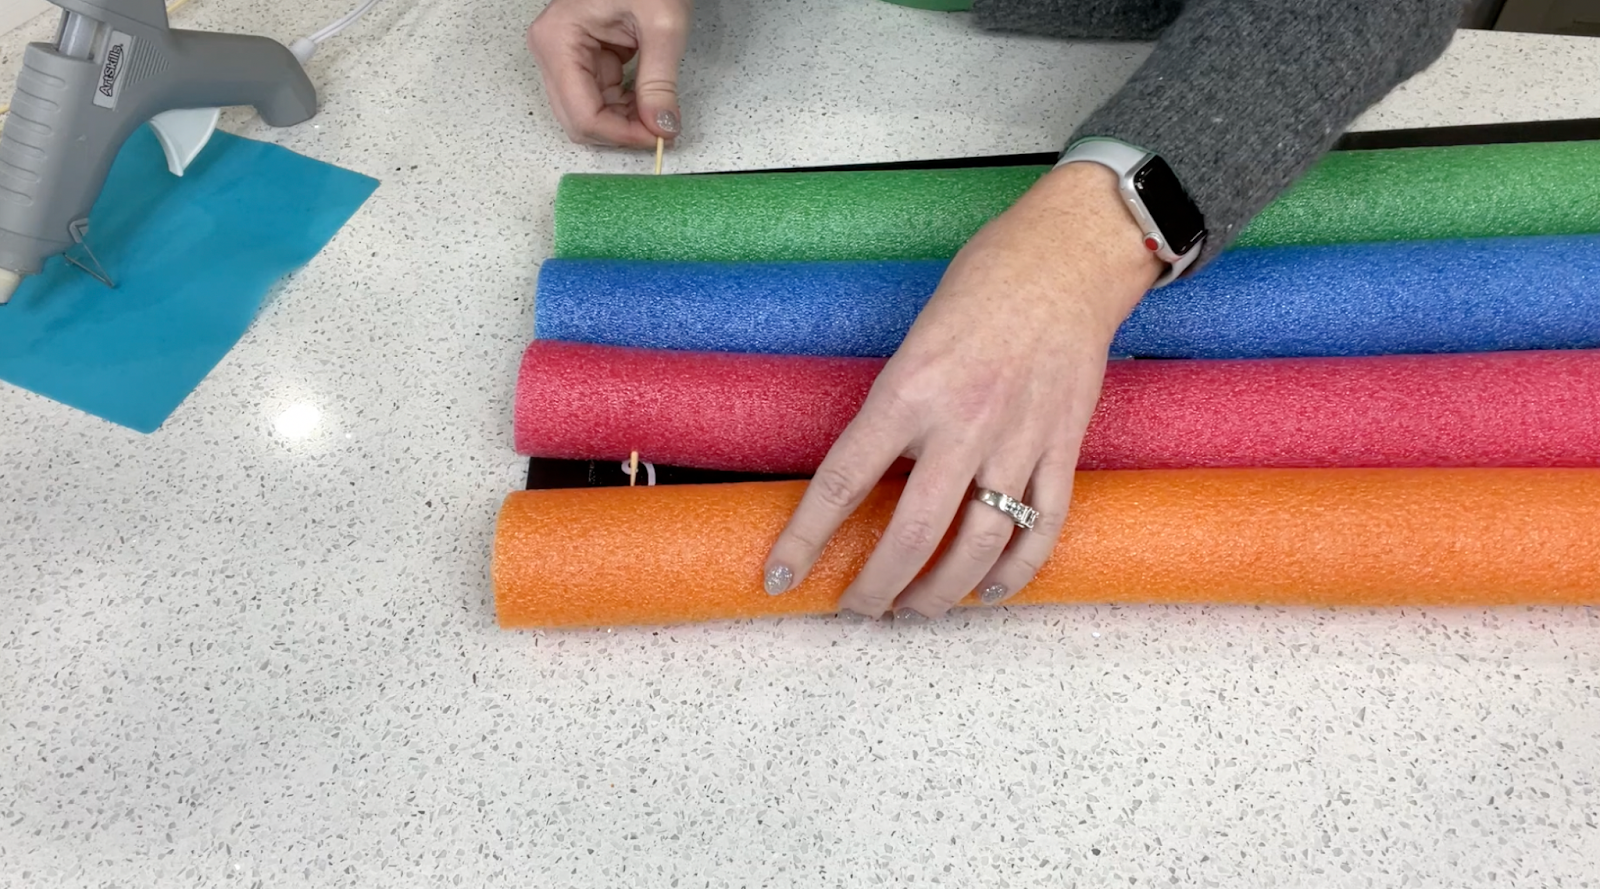
Step 6: Additional Support with Bamboo Skewers
To reinforce the structure, insert another bamboo skewer about a quarter of the way down the sign, piercing through all four pool noodles. Repeat this process along the length of the sign using approximately 5-6 skewers. Remember, these skewers are temporary and will be removed later. Apply hot glue between the dowel rods, attaching the pool noodles firmly to the sides of the sign until you reach the bottom. Be careful not to glue the skewers, as they need to be removed at the end.
Step 7: Finishing Touches
As you near the bottom of the sign, you may notice slight variations in the length of the pool noodles. In addition, some pool noodles might not be perfectly aligned or may have a slight bend, but fret not! These minor details can easily be addressed. For instance, at the bottom of my sign, the blue pool noodle is a couple of inches shorter than the others. To rectify any bending, you can gently bend any pool noodle with a slight bend into the desired position and secure it with glue. Remember to glue down all the pool noodles at the end of the sign, ensuring a neat and cohesive look.
Step 8: Securing the Pool Noodles Together
With the pool noodles in place, it’s time to give them some extra stability. Apply hot glue where the pool noodles are touching, gently separating them with your fingers to create small gaps for the glue. Repeat this process all the way down the length of the noodles, firmly adhering them to one another. This step ensures that the rainbow effect stays intact and adds an extra layer of durability to the decoration, especially since it will be displayed outside.
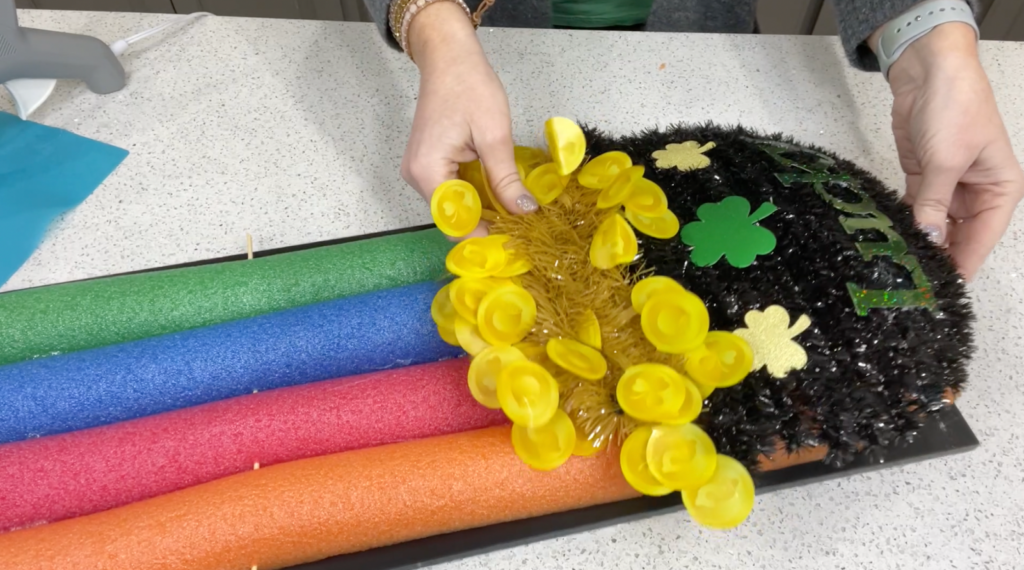
Step 9: Adding the Pot of Gold
Now, it’s time to introduce the final star of our St. Patrick’s Day porch decoration—the pot of gold! Another fantastic find from the dollar store, this delightful ornament will cover any unevenness or gaps at the bottom of the pool noodles. Securely attach the pot of gold to the sign using hot glue, ensuring it sits snugly and adds a touch of magic to your creation.
Step 10: Displaying Your Rainbow Sign
Congratulations! You’ve successfully transformed a Halloween sign into a whimsical St. Patrick’s Day porch decoration. Find the perfect spot by your front door or porch to showcase your vibrant creation. The combination of the rainbow pool noodles and the pot of gold will surely bring smiles to your family, friends, and anyone passing by.
Conclusion
In a world filled with countless ways to celebrate St. Patrick’s Day, it’s easy to get lost in a sea of expensive decorations and elaborate crafts. However, with a touch of resourcefulness and a dash of creativity, you can create a captivating and budget-friendly porch display that will leave your neighbors green with envy. By repurposing a seemingly forgotten Halloween sign and adorning it with vibrant pool noodles arranged in a captivating rainbow pattern, you have crafted a one-of-a-kind masterpiece that radiates the spirit of this joyous holiday.
And let’s not forget the crowning jewel of this whimsical creation—the pot of gold. This treasure, discovered during a dollar store excursion, adds an irresistible element of luck and charm, as it beautifully conceals any imperfections or gaps at the base of the pool noodles. The combination of the rainbow, symbolizing hope and good fortune, and the coveted pot of gold, representing abundance and prosperity, creates a visual feast for the eyes.
This St Patrick’s Day, embrace the jubilant hues of green and the mesmerizing allure of rainbows, allowing them to permeate every corner of your home and heart. Let your creative spirit soar as you embark on this simple yet transformative DIY project.
As you proudly display your DIY creation by your front door or porch, let it serve as a beacon of joy! May it inspire those who pass by, evoking a sense of wonder and admiration for the beauty that can be found in the simplest of materials. And as you revel in the festivities of St. Patrick’s Day, may the luck of the Irish be with you, guiding your path toward happiness, success, and an abundance of blessings.
So, my fellow DIY enthusiasts, go forth and unleash your creativity. Let the dollar store become your treasure trove, and an outdated holiday sign become your blank canvas. With a sprinkle of imagination and a dash of determination, create a St. Patrick’s Day porch display that will captivate hearts and leave a mark on this enchanting holiday. Happy St. Patrick’s Day!
Sorry, the comment form is closed at this time.