
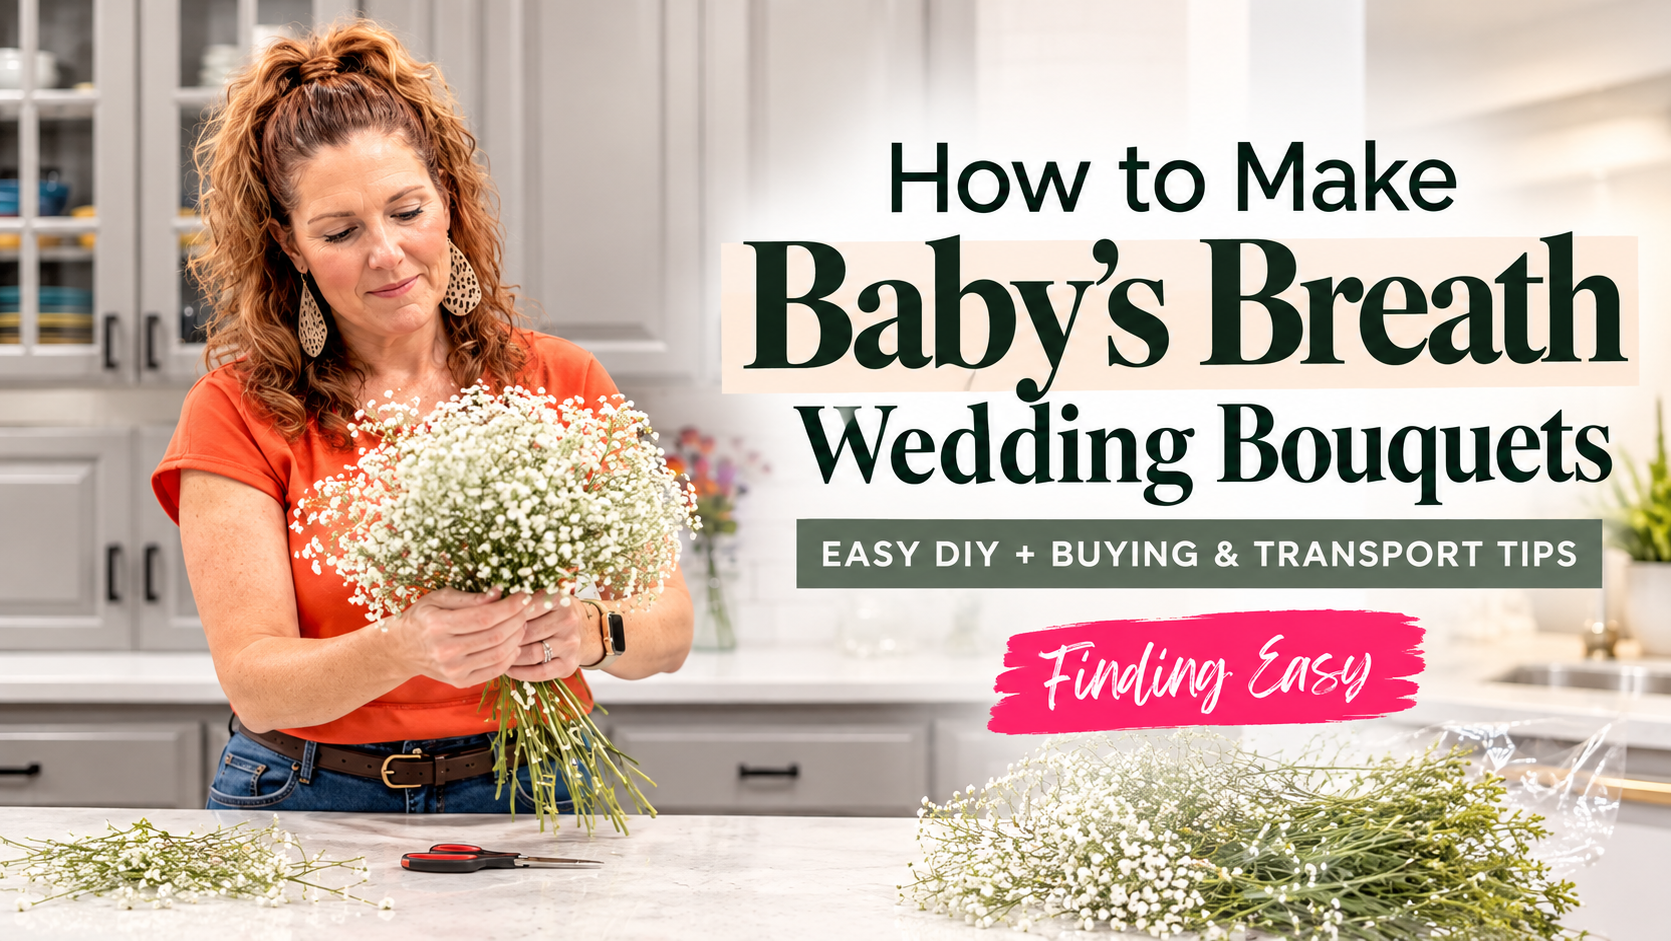
10 Oct Everything You Need To Make Baby’s Breath Wedding Bouquets
How to Make Easy Baby’s Breath Bouquets for a Wedding
If you’ve been asked to make baby’s breath bouquets for a wedding and have absolutely no idea where to start, I’ve got you!
That was me. 😂
I had all the questions: Where do I buy that much baby’s breath? How far ahead do I order it? How much do I need? How many stems go in each bouquet? How do I keep everything alive? And maybe most importantly… how in the world do I transport eight bouquets to the wedding without destroying them?
Well, I figured it out, the bouquets turned out beautiful, and now I’m sharing everything I learned so hopefully you can skip some of the guessing!
Where I Bought the Baby’s Breath
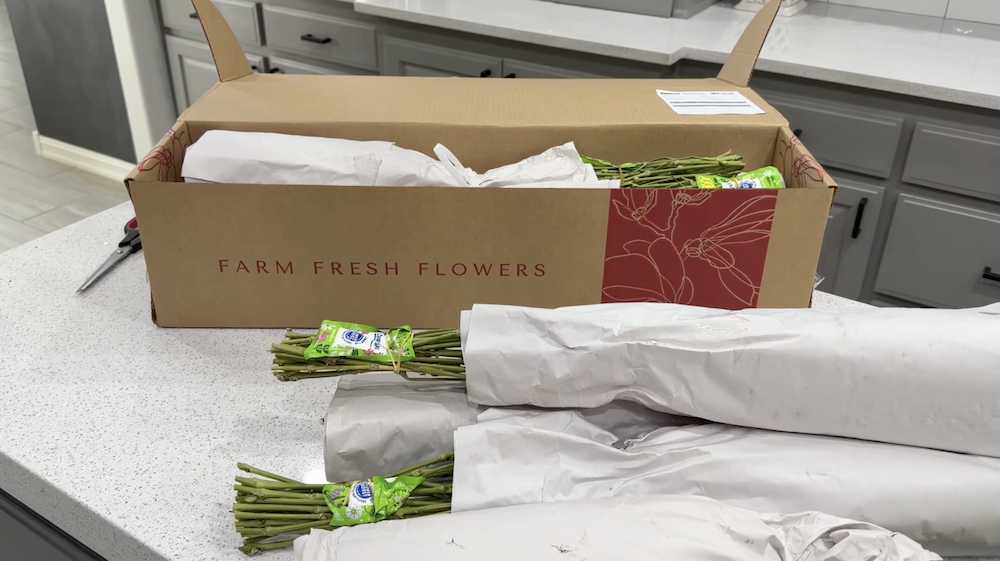
I ordered my baby’s breath from Costco.
I originally planned to order from Sam’s Club, but I learned that they needed about two weeks of lead time. I didn’t have two weeks, so Costco it was!
I ordered eight packages of baby’s breath, along with a greenery assortment because the bride wanted just a little greenery mixed into each bouquet.
The greenery assortment had four different varieties, including eucalyptus, and gave me plenty to work with.
Tip: Check the ordering and delivery timelines before you need your flowers! I definitely learned that one along the way.
How to Prep Bulk Baby’s Breath
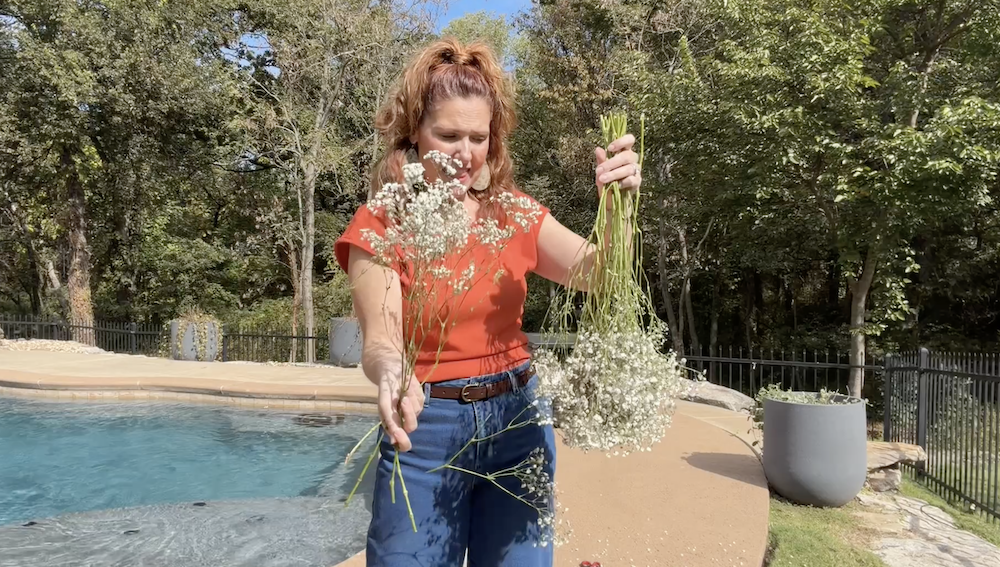
When the baby’s breath arrives, don’t panic when you open the box.
It is PACKED in there.
The stems are compressed together for shipping, so they don’t look anything like those big, fluffy bouquets you’re imagining.
I found the easiest way to separate them was to hold a bundle upside down and gently pull out one stem at a time.
Give each stem a little shake as you go.
Yes, little blooms are going to fall everywhere. There’s really no avoiding it. I highly recommend doing this part outside if you can!
Have a trash can, scissors and a bucket of water nearby before you start.
Once the stems are separated and fluffed, they look completely different.
Get the Flowers Into Water
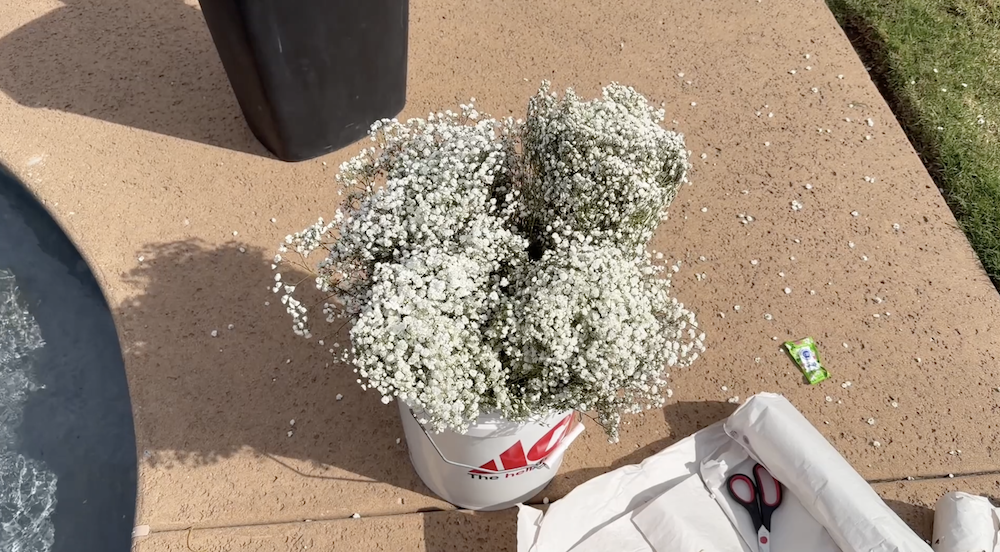
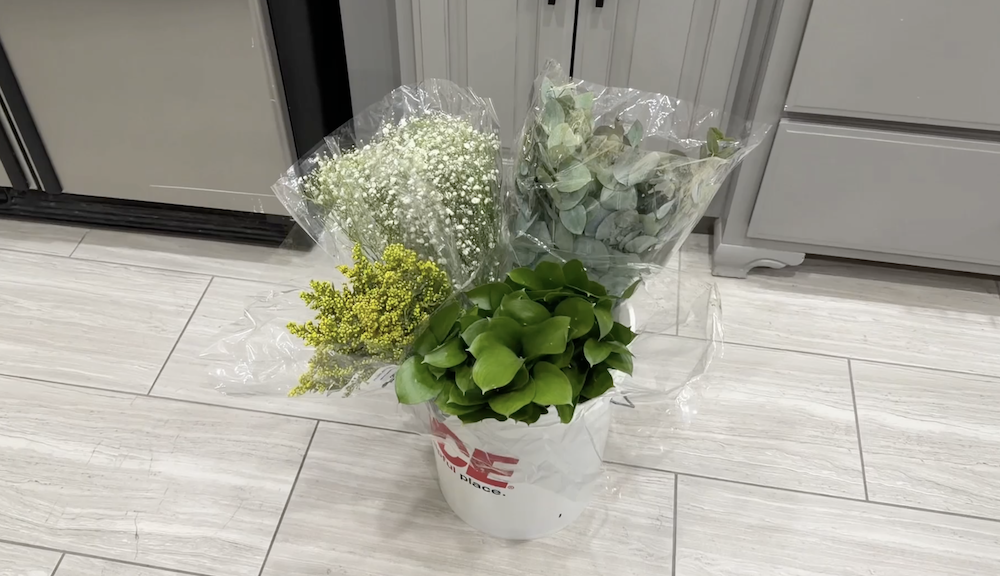
I used a 5-gallon bucket filled with water while I was prepping everything.
For the finished bouquets, I used individual mason jars.
This ended up being one of the best decisions I made because the bouquets could stay in the same jars while I made them, transported them and waited for the bridesmaids to pick them up.
Less moving flowers around = less chance of something getting messed up!
How Much Baby’s Breath Do You Need Per Bouquet?
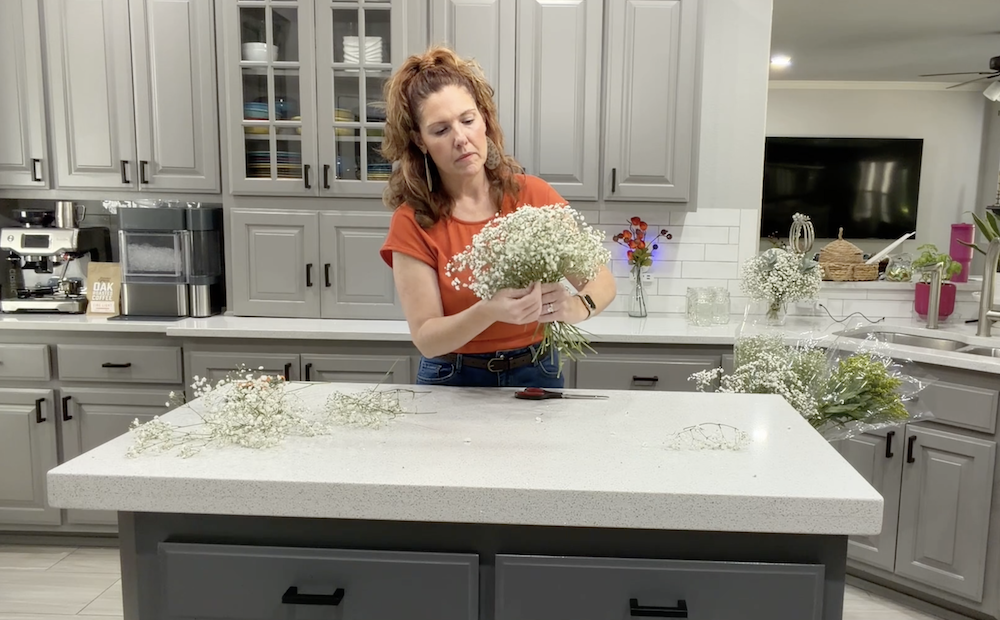
This was probably my biggest question before I started.
For the size bouquets I wanted, I found that:
10 full stems of baby’s breath made one large, full bridesmaid bouquet.
Those big stems have lots of smaller branches coming off of them, so I cut the stems into shorter pieces before arranging them.
For each bouquet, I used:
- About 10 stems of baby’s breath
- 3 pieces of eucalyptus/greenery
That was it!
You really don’t need a complicated flower recipe to make these look beautiful.
How to Assemble a Baby’s Breath Bouquet
Once I had my baby’s breath cut into manageable pieces, I started gathering it in my hand.
The biggest thing I learned was:
Watch the TOP of the bouquet—not the stems.
As you add pieces, turn the bouquet and look at its overall shape. Sometimes a piece needs to go straight up. Sometimes it needs to angle toward the side.
You’re basically trying to create a nice, full, rounded shape.
Don’t worry about all of those crazy stems sticking out of the bottom yet. We’ll deal with those later!
Add a Little Greenery
The bride wanted just a touch of greenery, so I added three pieces of eucalyptus to each bouquet.
I didn’t want the greenery to overpower the baby’s breath. It was really just there to add a little color and texture.
I also stripped off some of the lower leaves and anything that felt rough enough that it could potentially snag a bridesmaid’s dress.
Once I had the greenery tucked in where I wanted it, the bouquet was done!
And seriously—it was much easier than I expected.
Secure the Bouquet
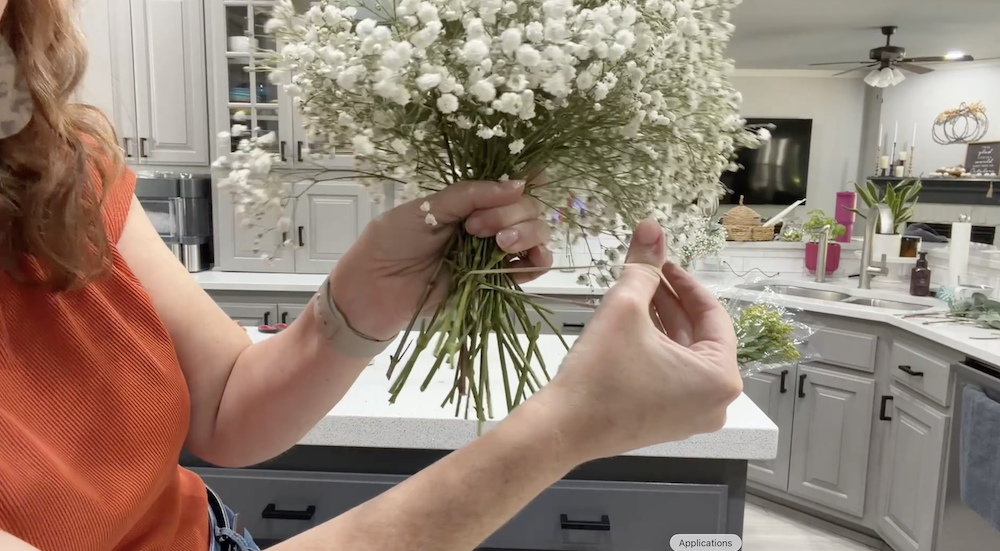
Once everything looked good, I gave the stems a haircut so they were relatively even.
Then I used a simple rubber band to hold the bouquet together.
I wrapped the rubber band around the stems a couple of times until everything felt secure.
I waited to add the pretty ribbon until we arrived at the venue.
This made it much easier to keep the stems in water without worrying about soaking or staining the ribbon.
How I Transported the Bouquets
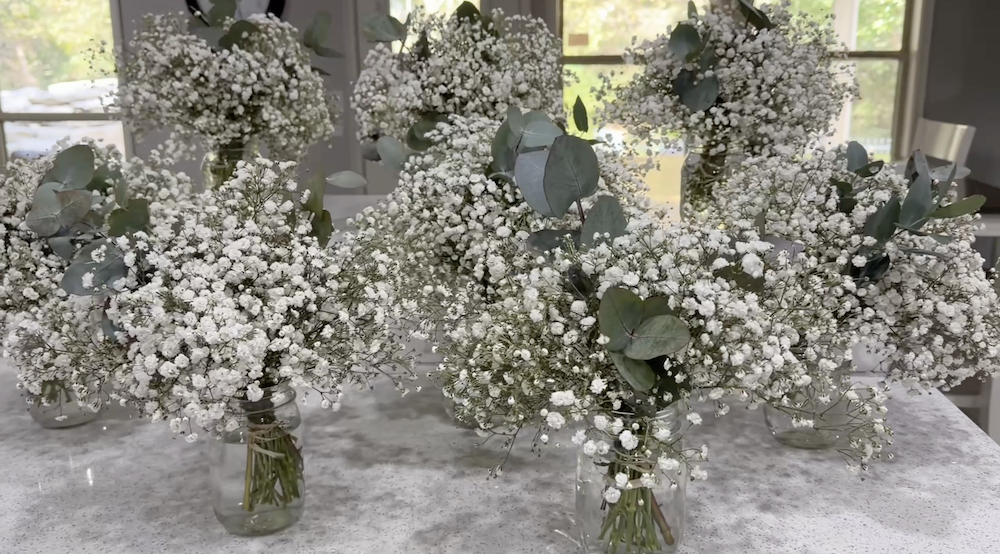
This was another part I had worried about way more than I needed to.
Each finished bouquet went into its own mason jar with water.
And here’s the best little hack:
Save the box your flowers came in!
The shipping box was perfect for transporting the mason jars. I cut the top off the box, placed the jars inside and used it to carry everything to the venue.
The bouquets stayed upright, stayed in water and traveled beautifully.
When we arrived, we added the ribbon and left each bouquet in its mason jar in the bridesmaids’ room.
When they were ready to walk down the aisle, they simply grabbed their bouquets.
What I Learned
I was the wedding coordinator that day, so once we arrived at the venue, things got BUSY.
It was raining. There were a million things happening. And I barely had time to take pictures of anything!
But the important part?
The bouquets looked beautiful and traveled perfectly.
If you’re making your own baby’s breath wedding bouquets, don’t let it intimidate you. Once you know how much you need and have a plan for prepping and transporting everything, these are actually incredibly simple to put together.
And they’re beautiful!
That’s exactly the kind of project I love—something that looks special without making life harder than it needs to be.
If you’re planning a wedding or helping someone you love with theirs, I hope this saves you some of the trial and error I went through!
Save this post for wedding planning, and be sure to watch the full video to see exactly how I put each bouquet together step by step.
No Comments